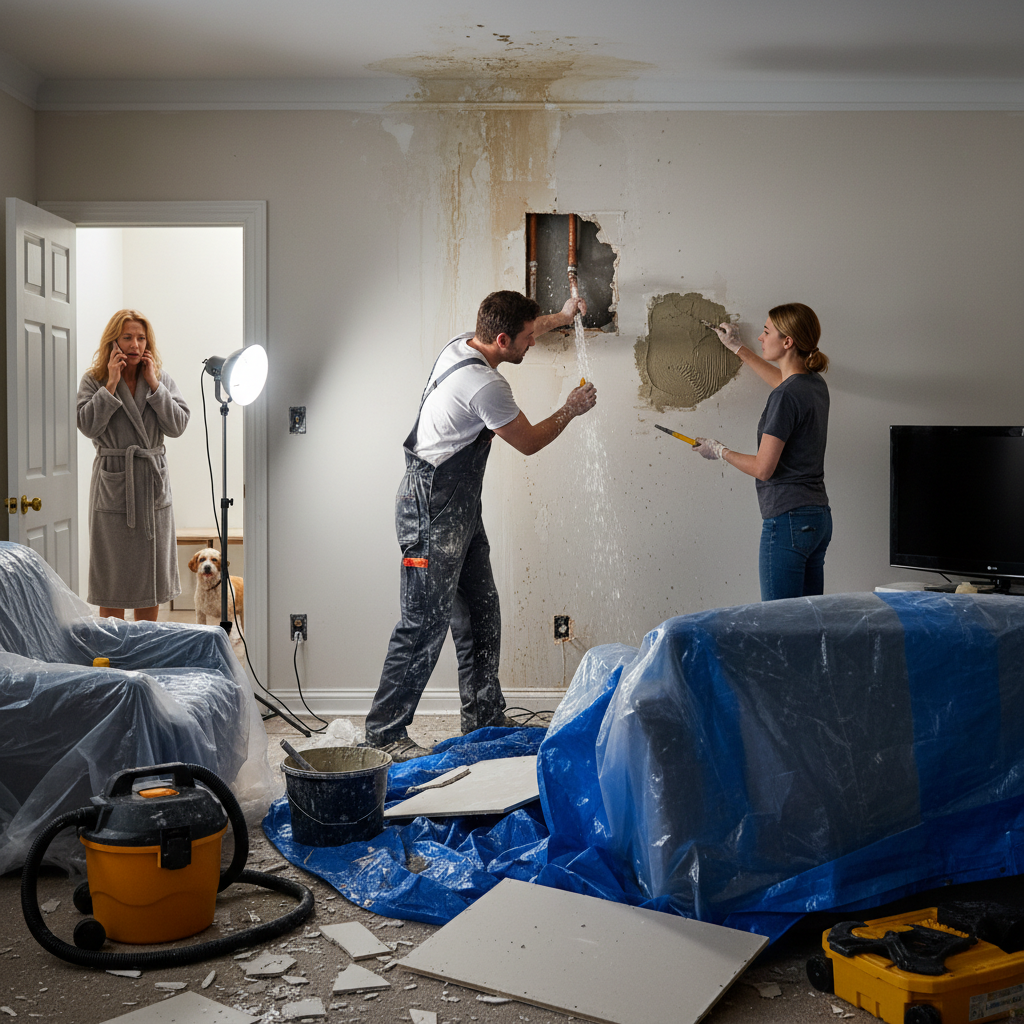
It’s usually 10:30 at night when these calls happen. A pipe lets go over the finished basement in New City, water starts dripping through a light fixture in Nyack, or a tree limb comes down on the back corner of a roof in Middletown right in the middle of a windstorm. Nobody plans for it, and in the moment, most homeowners lose precious time just trying to figure out what to touch first.
Around the Hudson Valley, I see the same pattern every year: the worst home emergencies show up during weather swings. A hard freeze after a mild spell, a week of spring rain on already saturated ground, or one of those sticky July stretches where everything in the basement feels damp and overworked. In older homes built before the 1970s, especially in Rockland and Orange County, small maintenance issues turn into emergency calls faster than people expect because the original plumbing, roofing, wiring, or drainage has already been pushed for decades.
The good news is this: the first 15 to 30 minutes matter more than most people realize. I’ve seen homeowners save thousands just by shutting off the right valve, moving furniture out of a leak path, or putting a proper temporary patch in place instead of panicking and waiting. This emergency home repair Hudson Valley guide is the same practical advice I give customers on the phone before I even pull into the driveway.
The First 30 Minutes: Stop the Damage Fast
The first job in any home emergency is not the repair — it’s damage control. I tell homeowners to think in this order: safety, shutoff, containment, documentation. If there’s active water, sparks, smoke, or structural movement, don’t start grabbing tools yet. Get people and pets clear of the area, especially if ceilings are sagging or water is near outlets, power strips, or appliances.
Shut Off the Right Utility
For a burst pipe, go straight to the main water shutoff. In a lot of Hudson Valley homes, that valve is near the water meter, where the line enters the basement wall, or beside the well tank if you’re on a private well. Turn a ball valve 90 degrees so it’s perpendicular to the pipe. If it’s an older gate valve, turn it clockwise until it stops, but don’t force it hard enough to snap the stem. Then open the lowest faucet in the house — usually a basement sink or laundry tub — to drain pressure out of the line.
For electrical issues, head to the panel and shut off the affected circuit. If you smell burning plastic, see blackening around an outlet, or hear buzzing in the wall, turn off the main breaker and call an electrician. Don’t assume it’s “just one outlet.” In older homes with mixed wiring repairs over the years, I’ve opened walls in Suffern and Spring Valley and found overloaded splices hidden behind drywall more times than I can count.
Contain Water and Protect Materials
Use contractor bags, towels, a wet/dry vac, and 5-gallon buckets to control spread. A 12-gallon Shop-Vac can remove a surprising amount of water quickly if you stay on it. Pull area rugs, lift furniture legs onto wood blocks or foil, and get cardboard boxes off the floor right away. If water is coming through a ceiling, poke a small drain hole with a screwdriver at the lowest bulge and catch it in a bucket. It feels wrong the first time you do it, but one controlled hole is better than having a 4-foot section of soaked drywall crash down.
Take Photos Before Cleanup Goes Too Far
Get wide shots, close-ups, and photos of the source before you start tearing things apart. Insurance adjusters want context. Photograph the failed supply line, the water path, the damaged floor, baseboard, ceiling, furniture, and anything you move. I also tell people to shoot a quick video with narration: time, date, what happened, and what they shut off. That simple record can make a claim go a lot smoother when the house is back in order and nobody remembers exactly what it looked like.
Keep a bright tag on your main water shutoff and test it twice a year. A valve that hasn’t moved in 15 years is exactly the one that sticks when you need it most.
Homeowners often leave soaked drywall, insulation, and carpet pad in place overnight. After 24 to 48 hours, mold risk jumps fast, especially in humid basements.
Safe Temporary Fixes That Actually Help
A temporary fix should buy you time without making the final repair harder. That’s the line. I’m all for practical stopgaps, but only when they’re safe and when they keep the situation from spreading. Good temporary work is neat, dry, and easy to undo. Bad temporary work usually involves too much caulk, too much spray foam, or duct tape in places duct tape never belonged.
For Burst Pipes and Small Plumbing Leaks
If the leak is on an exposed copper or PEX line and you’ve shut the water off, dry the pipe thoroughly and use a proper pipe repair clamp or a rubber patch with a stainless worm-gear clamp. For a 1/2-inch or 3/4-inch line, keep a Fernco-style repair clamp or a Sioux Chief pipe repair sleeve in the house. Another smart item is a SharkBite end cap in 1/2-inch and 3/4-inch sizes; if you can cut back to clean pipe with a tubing cutter or PEX cutter, a push-to-connect cap can isolate the damaged branch fast. That said, don’t bury a SharkBite inside a finished wall as a permanent hidden repair unless local code and access conditions are addressed by a pro.
For Roof Leaks and Window Leaks
For a roof leak, your best short-term move from inside is to catch water, protect finishes, and relieve any ceiling bulge. Outside, only work from the ground unless conditions are dry and safe. A heavy-duty tarp should extend at least 3 to 4 feet past the damaged area on all sides, and it needs to be secured with 1x3 wood strips screwed into solid framing, not just weighed down with bricks. For window leaks, pull wet trim if needed, dry the area, and use painter’s plastic or 6-mil poly taped with Zip System tape or Gorilla Waterproof Patch & Seal tape as a temporary interior barrier until the source is fixed.
For Broken Glass, Draft Openings, and Minor Structural Exposure
For a broken window, clear loose shards with cut-resistant gloves, then cover the opening with 1/2-inch plywood if possible, screwed into the window frame, not just taped over. In a pinch, corrugated polycarbonate or even rigid foam board can help block weather for a day or two. If a door jamb splits after a forced entry or a hard slam, don’t rely on a 3/4-inch finish screw. Use 3-inch structural screws like GRK or SPAX driven into the king stud to stabilize the frame until the jamb can be properly rebuilt.
A temporary fix should always be paired with airflow and drying. Set one fan to blow across wet surfaces, not directly into a wall cavity, and run a dehumidifier set around 45% to 50% humidity. I like the Frigidaire 50-pint or similar class units for average basements. The goal is to keep damage from migrating while you line up the permanent repair.
Keep a small emergency kit in the basement: flashlight, headlamp, batteries, utility knife, 6-mil plastic, Zip tape, nitrile gloves, wet/dry vac bags, and 1/2-inch and 3/4-inch SharkBite caps.
People love smearing silicone over active leaks. Silicone on a wet, dirty surface usually fails, and it can make the real repair take longer because everything has to be cleaned back off.
When to Call a Pro Right Away
Some problems are not DIY problems, even for handy homeowners. I’ve worked for plenty of capable people who know their way around tools, but there’s a point where experience, safety gear, and knowing what’s hidden behind the surface matters more than confidence. The trick is knowing that line before the damage gets worse.
Electrical, Structural, and Gas Issues
Call a pro immediately for burning smells, repeated breaker trips, sparking outlets, buzzing panels, scorched receptacles, or any water intrusion near electrical wiring. The same goes for anything structural: a cracked beam, a ceiling sagging more than an inch or two, doors suddenly going out of square, or a wall that looks like it shifted after heavy rain or a freeze-thaw event. And if you smell gas, leave the house, call the utility, and don’t touch switches, lighters, or garage door openers on the way out.
Water Intrusion That Won’t Quit
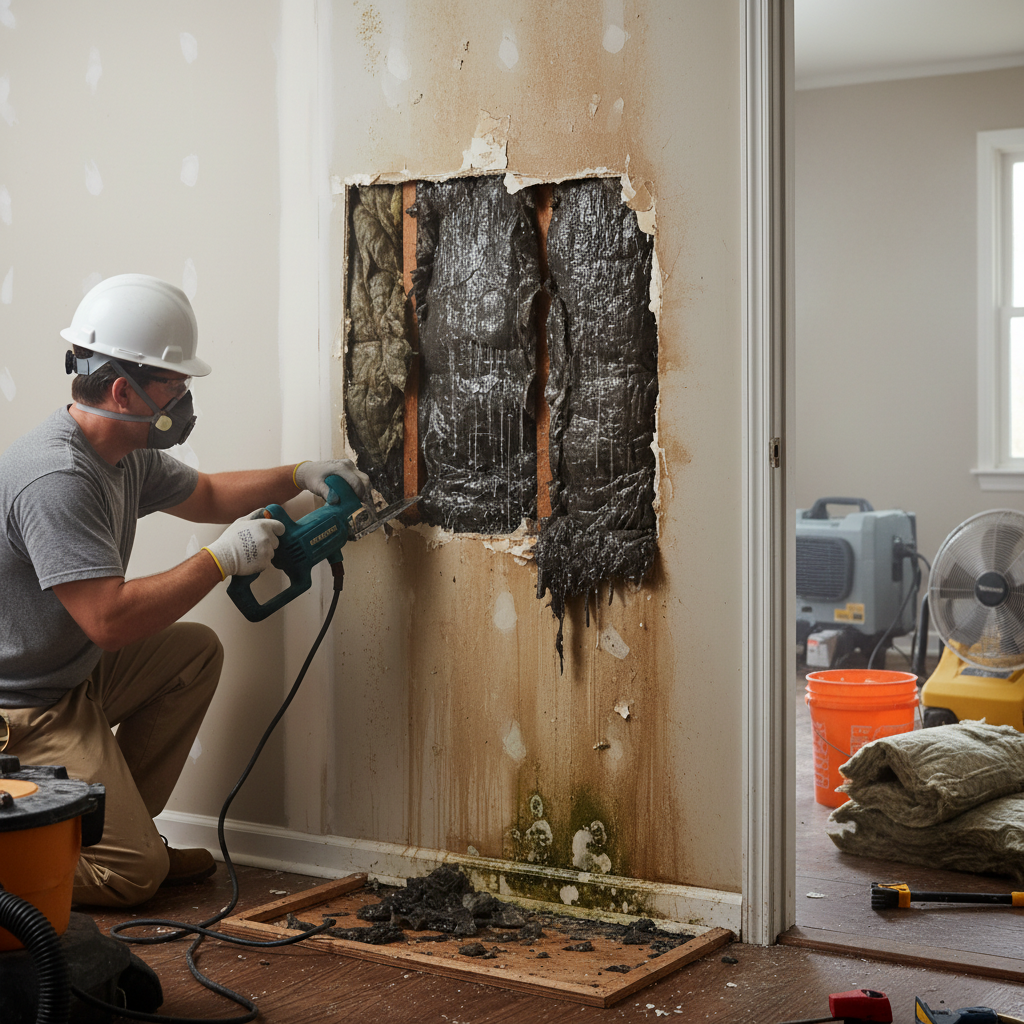
A single supply-line leak under a sink is one thing. Ongoing foundation seepage, sewer backups, sump pump failure during a storm, or roof leaks that spread across multiple rooms are another. In those jobs, the visible water is often only half the story. I’ve opened up basement walls in Newburgh and found wet sill plates, mold on insulation facings, and water tracking 8 to 12 feet from where the homeowner thought the leak started.
Insurance and Documentation Situations
You should also bring in a pro when the repair may involve an insurance claim, especially if ceilings, hardwood floors, cabinetry, or multiple trades are involved. The right contractor can help separate emergency mitigation from permanent repair, which matters for paperwork. Emergency drying, demolition of unsalvageable material, and temporary protection are often treated differently from the actual rebuild.
One more thing homeowners appreciate hearing: calling a professional early doesn’t always mean a bigger bill. Sometimes it means the opposite. Catching a wet wall before insulation, trim, framing, and flooring all stay damp for three days can save you the cost of mold remediation, subfloor replacement, and repainting entire rooms instead of one patch.
When you call a contractor, send three photos and one 15-second video before they arrive. You’ll usually get better first-step instructions and a faster idea of what tools or materials are needed.
Waiting until morning to deal with active water is one of the most expensive choices homeowners make. Eight hours is plenty of time for drywall, insulation, flooring, and trim to soak through.
Common Mistakes to Avoid
The biggest mistake I see is homeowners focusing on the symptom instead of the source. They wipe the floor but don’t shut off the water. They paint a stain but never fix the flashing. They reset the breaker without figuring out why it tripped. Emergency repair isn’t about making the house look normal for the night. It’s about stopping the chain reaction before one failure takes out three more parts of the house.
Another common mistake is using the wrong material for a temporary fix. Duct tape on a plumbing leak, expanding spray foam around a wet exterior opening, roofing tar inside the house, or interior caulk on a flashing problem all create a mess without solving much. I’ve had to spend extra time scraping off bad patch jobs just to get back to a clean starting point. That means more labor, more material waste, and a higher final bill.
Homeowners also underestimate hidden moisture. Laminate flooring may look dry on top while the underlayment is saturated. Baseboards can feel solid while the backside is growing mold. Ceiling drywall can hold water long after dripping slows down. A moisture meter is cheap insurance here. Even a basic pin-type meter can tell you whether trim, studs, or subfloor are still reading wet and need more drying time.
Then there’s the ladder issue. Every year, somebody tries to climb onto a wet roof in sneakers with a flashlight because they “just want to take a quick look.” Don’t. No tarp, shingle, or gutter is worth a fall. The safest emergency roof work for a homeowner is usually from inside the attic, from the ground, or from a stable ladder used only for visual inspection — not for storm-hero moves.
Finally, don’t throw damaged materials away before you’ve documented them. Keep the failed hose, cracked fitting, broken shingle piece, or waterlogged section of pipe until your contractor or adjuster has seen it. A $12 failed braided supply line has caused some very expensive insurance claims, and the cause matters.
Spend $35 to $60 on a basic moisture meter and keep it with your emergency supplies. It’s one of the few homeowner tools that can directly prevent hidden damage from becoming a bigger repair.
Before replacing flooring or drywall, confirm materials are truly unsalvageable. Quick drying and selective demo can save a room that would otherwise get fully gutted.
Cost Breakdown: What to Expect
Emergency repair costs in Rockland and Orange County depend on two things more than anything else: how fast the issue was caught and how many trades are involved. A simple plumbing stop-and-repair on an exposed line is one price. A plumbing leak that damages drywall, insulation, flooring, and electrical is a whole different job.
For emergency service calls, many local contractors charge a trip or diagnostic fee in the range of $150 to $300 during normal extended hours, and more for nights, weekends, or holiday response. Handyman and general repair labor rates in Rockland and Orange County typically run about $95 to $145 per hour, while licensed plumbers and electricians are often in the $125 to $225 per hour range depending on urgency, complexity, and whether a helper or second tech is needed.
Here are realistic ballpark numbers. Replacing a burst accessible supply line section might cost $250 to $650 professionally, while a homeowner DIY temporary clamp or cap might cost $20 to $75 in materials. Emergency roof tarping commonly runs $300 to $900 depending on height, pitch, and weather exposure; a DIY tarp setup may cost $80 to $250, but only if it can be done safely from a ladder or the ground. Broken window board-up work often lands between $200 and $500, while materials for a basic DIY board-up are usually $40 to $120. Water extraction and drying for a small area can range from $500 to $1,500; larger basement or multi-room drying jobs can climb to $2,500 to $6,000 or more once dehumidifiers, air movers, monitoring visits, and demo are involved.
Drywall ceiling repair after a leak is often $350 to $1,200 depending on size, texture match, and whether insulation needs replacement. Replacing wet baseboard and a few feet of trim may run $200 to $600, while damaged laminate flooring can go from $700 for a small room patch job to several thousand dollars if the whole run has to come up. Sewer backups and contaminated water cleanup are usually at the higher end because sanitation protocols change the scope fast.
The cheapest emergency repair is almost always the one that stays temporary for only a short time. The longer a wet area sits, the more likely you’ll pay for demolition, antimicrobial treatment, additional finish work, and sometimes mold remediation. That’s why I tell homeowners not to compare just the first invoice. Compare the full outcome six weeks later.
Ask whether the contractor can separate emergency stabilization from cosmetic follow-up. You may be able to stop the damage now and schedule non-urgent finish repairs at standard rates later.
Replace old braided supply lines every 5 to 7 years, clean gutters each spring and fall, and test your sump pump before storm season. Those three habits prevent a lot of midnight calls.
📍 How This Applies to Homes in Rockland & Orange County
Emergency home repair Hudson Valley problems have a very local pattern to them. In Rockland County towns like Nanuet, Spring Valley, Suffern, Nyack, and New City, a lot of homes have a mix of older original construction and newer updates layered on over the years. That means the kitchen may be renovated, but the shutoff valve in the basement is still older than the owner. In Orange County, especially around Middletown and Newburgh, I see plenty of homes dealing with bigger weather exposure, grading issues, and basements that take on moisture every spring.
The Hudson Valley climate is hard on houses. Harsh winters put plumbing, roofing, and masonry through repeated stress, and the freeze-thaw cycles we get can turn a hairline crack into a real water path before you know it. Ice dams along eaves, split hose bib lines, and foundation seepage are all common once temperatures bounce above and below freezing for a few weeks. A lot of emergency home repair Hudson Valley calls happen right after that first warm-up, when hidden winter damage finally shows itself.
Older pre-1970s homes need special attention because they were often built with materials and layouts that don’t forgive neglect. I’m talking about aging galvanized lines, undersized gutters, original block foundations, older service panels, and basements that were never meant to stay bone dry year-round. Add spring moisture and summer humidity, and you’ve got conditions where a small leak turns into damp insulation, musty trim, and mold-prone corners fast. In river towns and low spots, that humidity hangs around longer than people think.
The practical takeaway for local homeowners is simple: know your shutoffs, keep gutters and downspouts clear, extend discharge lines at least 6 to 10 feet from the foundation, and don’t ignore minor stains or damp smells. In this part of New York, the weather keeps testing every weak spot in the house. The homeowners who stay ahead of emergency repairs are usually the ones who walk their property after storms, check the basement during heavy rain, and fix small issues before the next season gets a crack at them.
Frequently Asked Questions
Ready to Get Started?
Get Your Free Estimate Today
Serving Rockland County & Orange County, NY. Professional results, guaranteed.
Request a Free Estimate →