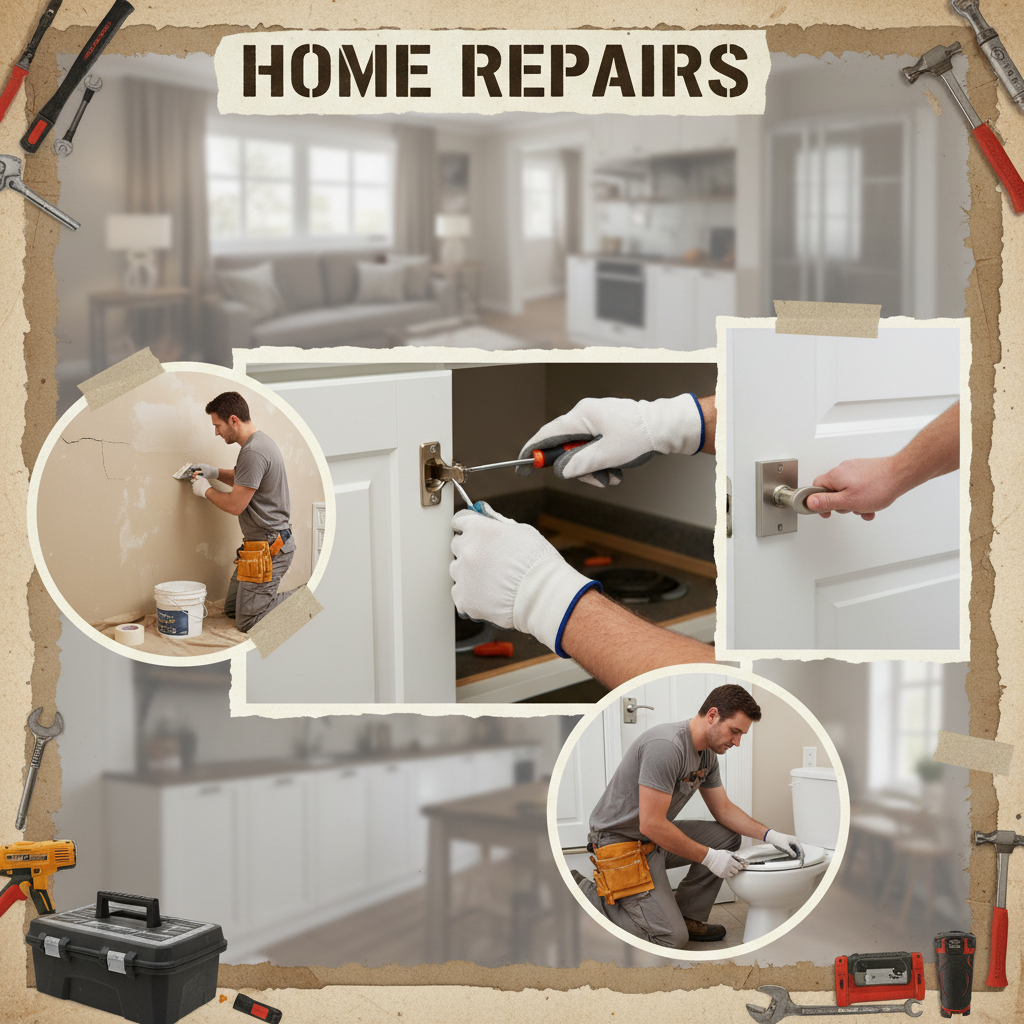
One March morning in New City, I got a call from a homeowner who thought she had three separate problems: a drip under the kitchen sink, a bedroom door that suddenly wouldn't latch, and a hairline crack running above the hallway doorway. By the time I got there, all three had the same root cause behind them in one way or another: normal wear mixed with Hudson Valley weather. A hard winter, a damp spring thaw, and a house that expands and settles a little every season can make small repairs pile up fast.
Around here, the little stuff is what catches people off guard. The EPA has said household leaks alone can waste nearly 10,000 gallons of water a year in the average home, and in Rockland and Orange County I see that play out constantly in old angle stops, worn toilet flappers, and loose supply lines. Add in pre-1970s framing, plaster transitions, and humidity swings from July to January, and you've got a recipe for cracks, sticking doors, peeling caulk, and drafty windows.
The good news is most of these repairs are manageable when you catch them early and use the right method. The bad news is a lot of homeowners get burned by quick fixes that look fine for two weeks and fail by the next season. I'll walk you through the most common household repairs Hudson Valley homeowners deal with, how I'd approach them in the field, and when it's smarter to call in a pro before a Saturday project turns into a Monday emergency.
Leaks, Drips, and Running Toilets
Start with the leak you can hear and the one you can't
The most common repair call I get isn't a dramatic burst pipe. It's a slow drip. A kitchen faucet that won't quite shut off, a bathroom sink trap with a faint bead of water on the nut, or a toilet that keeps refilling every 20 minutes. Those little leaks do real damage over time. The first thing I tell homeowners is to dry everything completely with a rag, then watch where the water reappears. Under a sink, check the P-trap connections, the basket strainer under the drain, and the braided supply lines at both ends. A lot of times the leak isn't where the puddle is sitting.
Fixing a faucet or sink leak the right way
For a dripping faucet, shut off the stops under the sink, open the faucet to release pressure, and remove the handle. On many Delta, Moen, and Kohler faucets, the problem is a worn cartridge or seat. Use a cartridge puller if it's stuck instead of twisting it with pliers and damaging the valve body. When I replace one, I clean the bore with a nylon brush, wipe it dry, and apply a light coat of silicone plumber's grease to the new O-rings. Under sinks, if the leak is at the slip-joint nut, I loosen it, inspect the tapered washer, and replace it if it's flattened or cracked. A 1 1/2-inch polypropylene washer costs next to nothing and works better than reefing down on an old one until it splits.
Running toilets are another big one. Nine times out of ten, it's the flapper, fill valve, or chain adjustment. I like the Korky universal flapper or a Fluidmaster 400A fill valve because they're easy to source and reliable. Shut off the toilet, flush it down, sponge out the last bit of water, and replace parts one at a time. Set the water line about 1 inch below the top of the overflow tube, and make sure the chain has about 1/2 inch of slack. Too tight and the flapper never seals; too loose and it doesn't open fully.
When the issue is a leak at the toilet base, slow down. Sometimes it's just failed caulk letting mop water creep underneath, but sometimes it's a wax ring or a loose closet bolt. I pull the toilet, inspect the flange, and check whether it's sitting level with the finished floor. If the flange is low, I use a spacer kit and a waxless seal or an extra-thick ring depending on the setup. What I don't do is tighten the bolts until the porcelain creaks. Snug, even pressure is the trick, and plastic shims under the base help prevent rocking.
A final point that saves a lot of cabinets: whenever I repair a plumbing leak, I put down a dry paper towel and come back 15 minutes later. Tiny active leaks show up fast on white paper. It's simple, but it's one of those habits that catches the slow drips homeowners miss.
Before replacing a faucet cartridge, take a photo of the handle and retaining clip setup. Some Moen and Delta assemblies look obvious until you're putting them back together upside down.
Homeowners often overtighten plastic slip nuts under sinks. That usually warps the washer or cracks the trap adapter and creates a bigger leak than the one they started with.
Drywall Cracks, Nail Pops, and Sticking Doors
Why these problems show up together
A crack over a doorway, a popped fastener in the ceiling, and a bedroom door rubbing the jamb often come from the same basic movement in the house. In older homes, especially anything with decades of seasonal settling, framing shifts a little and the finish materials tell the story first. Hairline cracks less than 1/16 inch wide are usually cosmetic. Wider cracks, repeated movement in the same spot, or doors that suddenly go badly out of square deserve a closer look.
For drywall cracks, I don't just smear spackle over the line and hope for the best. I use a utility knife to open the crack slightly into a shallow V so the compound has something to grip. Then I embed paper tape or FibaFuse over the area with a setting compound like USG Sheetrock 45. For small cracks above doors and windows, paper tape still gives the cleanest reinforcement in my experience. After it sets, I apply two thin finish coats, feathering at least 8 to 10 inches wide with a 10-inch knife so the patch disappears after sanding and paint.
Nail pops need a different fix. The popped fastener is usually just a symptom that the drywall lost its bite on the stud. I tap the pop lightly to recess it, then drive one new 1 1/4-inch coarse-thread drywall screw about 1 1/2 inches above it and another below it into solid framing. After that, I cover the old pop and screw heads with setting compound, let it cure, sand smooth, and spot-prime before painting. If you skip the primer, the patch will flash through the finish coat, especially with eggshell paint.
Getting a sticking door to close without wrecking the reveal
With doors, I start at the hinges. Loose hinge screws are common, and replacing one short top hinge screw with a 3-inch construction screw into the framing often pulls the jamb back where it belongs. If the door rubs near the top latch side, that's usually the first move. I also check reveal spacing. You want a fairly even gap, roughly 1/8 inch, around the sides and top. If humidity is swelling the slab and the hinges are tight, then a light plane on the rubbing edge followed by primer and paint on the cut surface is the right way to do it.
What gets homeowners into trouble is treating movement like it's always cosmetic. One recurring stair-step crack, especially near a foundation corner, means I want to look outside too. But in most cases indoors, careful taping, proper fastener placement, hinge correction, and a little patience between coats will solve the everyday problems without turning your hallway into a full renovation.
Use setting compound for the first coat on cracks and nail pops, not lightweight spackle. It shrinks less, dries harder, and holds up better in high-movement areas over doors and windows.
A lot of people sand too aggressively and expose the tape on a crack repair. Once that tape fuzzes or lifts, the patch usually has to be skimmed again.
Windows, Caulk, and Draft-Stopping Repairs
Small gaps are where the trouble starts
Some of the most common household repairs Hudson Valley homeowners call about aren't flashy at all. It's failed caulk around a tub, daylight sneaking around a window casing, a draft at the back door, or trim pulling away just enough to invite moisture. These are the repairs that seem easy enough to ignore until paint peels, the room feels cold, or mold starts showing up at a wet corner.
For interior and exterior caulk, surface prep matters more than the tube you buy. I cut out old, loose caulk with a sharp utility knife or a plastic caulk remover, then clean the joint with denatured alcohol for trim or a mild bathroom cleaner for tubs and sinks. The joint has to be dry. For painted trim, DAP Alex Flex or Big Stretch works well because it stays flexible and paint bonds to it. For tubs, showers, and sink splashes, I use 100 percent silicone like GE Advanced Silicone 2 Kitchen and Bath. Silicone lasts, but only if the old residue is fully removed and the area is bone dry.
On drafty windows and doors, I check the simple fixes first. Loose strike plates, worn weatherstripping, and out-of-adjustment latches cause a lot of air leakage. Adhesive V-seal weatherstripping from Frost King can work on smaller gaps, while compression weatherstrip is better on a consistently aligned door. On a double-hung window, lock the sash before you decide it's still drafty. Sometimes the lock pulls the meeting rails together enough to compress the existing seal. If the casing gap is the issue, I remove loose trim caulk, fill wider joints with foam backer rod where needed, then apply a neat finish bead instead of stuffing the whole space with caulk.
The right way to seal a larger gap
For gaps larger than about 1/4 inch around trim or at penetrations, caulk alone isn't the answer. I use foam backer rod first so the sealant bridges the joint instead of sinking into it. On rough openings hidden behind casing, a low-expansion foam like Great Stuff Window and Door is useful, but go easy. Too much foam can bow jambs and create a whole new problem with operation. After the foam cures, trim it flush and finish the visible edge with paintable caulk.
One more repair that belongs in this category is loose cabinet hardware and wobbly towel bars. Repeated movement widens screw holes in drywall and particleboard. I either move to a better anchor, fill and redrill the hole, or use a repair plate depending on the situation. It's not glamorous work, but these are exactly the everyday repairs that keep a house feeling tight, clean, and well cared for.
Keep a spray bottle with water and a drop of dish soap nearby when tooling silicone. Wetting your finger or a caulk tool lightly helps you smooth the bead without dragging it.
Putting new caulk over dirty or loose old caulk is one of the fastest ways to guarantee failure. It may look good for a week, then it peels right off.
Common Mistakes to Avoid
The biggest mistake I see is treating every repair like a cosmetic problem. A stain on drywall gets painted without finding the leak. A toilet that runs gets ignored because it still flushes. A door that sticks gets shaved down when the real issue is a loose jamb or seasonal swelling. The finish fix may make the symptom disappear for a little while, but the underlying problem keeps working in the background.
Another common one is using the wrong product because it was already in the garage. Lightweight spackle gets used in a high-movement crack over a doorway, painter's caulk gets used inside a shower, and general-purpose screws get run into drywall anchors that can't hold any weight. Materials matter. Paintable acrylic latex caulk, setting-type joint compound, silicone sealant, wood shims, toggle bolts, and proper plumbing washers all have different jobs. Mixing them up is how repairs fail early.
People also rush prep. They don't dry out a leak area before sealing it, they don't remove loose compound before patching, and they don't clean soap film before laying a fresh bead of silicone. I can usually tell within five minutes whether a failed repair was caused by bad prep or bad technique. Most of the time, it was prep. Dry, clean, stable surfaces are what make a repair last through the next winter and summer swing.
One that costs money fast is over-tightening. Sink slip joints, toilet closet bolts, cabinet pulls, and hinge screws get cranked down until plastic cracks, porcelain stresses, or stripped holes get even worse. Snug and correct beats tight and damaged. Whenever you're working with plumbing or older finish materials, controlled pressure is the name of the game.
Last, know when not to play hero. Anything involving active electrical issues, repeated breaker trips, hidden water damage, mold spread, or structural movement beyond a normal hairline crack deserves a real diagnosis. Good homeowners save money by handling the right repairs themselves and calling a pro before a small issue becomes three separate projects.
Keep a small repair kit on hand: utility knife, 5-in-1 tool, adjustable wrench, channel-lock pliers, caulk gun, 10-inch taping knife, sand sponge, wood shims, and a non-contact voltage tester.
When you're fixing one bathroom or window, inspect the matching fixtures in the rest of the house. Replacing a second worn flapper or resealing a second drafty trim joint during the same trip saves time and service-call money later.
Cost Breakdown: What to Expect
Repair costs in Rockland and Orange County depend on travel, access, age of the home, and whether the fix stays simple once the wall or fixture is opened up. For general handyman work, homeowners in Rockland County usually see rates around 110 to 150 dollars per hour, while Orange County often falls around 95 to 135 dollars per hour. A lot of small jobs also carry a minimum service call of one to two hours. Licensed plumbers and electricians generally run higher, often 140 to 225 dollars per hour depending on the contractor and the urgency of the call.
For a dripping faucet, DIY usually runs 15 to 60 dollars for a cartridge, washers, or supply line. Hiring it out often lands around 140 to 300 dollars if the parts are straightforward and the shutoffs work. A running toilet can be a very affordable repair if you do it yourself. A Korky flapper or Fluidmaster fill valve kit may cost 10 to 35 dollars, while a pro visit for diagnosis and replacement is commonly 160 to 325 dollars. If the toilet has to be pulled and reset with a new seal, that number usually rises to about 250 to 450 dollars.
Drywall crack and nail-pop repairs vary because paint matching is often the real time sink. DIY materials might cost 25 to 75 dollars for setting compound, tape, primer, and sandpaper. A professional patch on one or two isolated areas might run 200 to 450 dollars, while multiple cracks, texture matching, and repainting an entire wall can push the job into the 500 to 900 dollar range. Door adjustments are similar. Tightening hinges and setting longer screws may be a near-zero DIY cost, but planing, rehanging, or strike-plate adjustment by a pro often runs 125 to 300 dollars per door.
Caulking and weatherstripping are some of the best-value repairs in the house. DIY materials for a bathroom or a few windows may cost 20 to 80 dollars. Professional caulking of a tub, sink, or selected interior trim typically falls between 150 and 350 dollars, depending on prep and removal. Replacing weatherstripping on one exterior door might cost 20 to 50 dollars in materials or around 125 to 250 dollars with labor. Larger window draft-sealing jobs, especially in older homes with multiple failed joints, can range much higher.
My honest advice is to compare the repair cost against the risk of waiting. A 25-dollar flapper can prevent a higher water bill. A 12-dollar tube of silicone can stop moisture from getting behind a tub surround. But when a leak is hidden, a door is moving because the framing shifted, or a repair needs specialty tools, paying for a solid first fix is usually cheaper than paying twice.
Bundle small repairs into one visit. A contractor can often handle a faucet drip, a sticking door, and two caulk touch-ups in the same appointment for much less than three separate calls.
Walk the house twice a year with a flashlight and a notepad. Catching one loose toilet bolt, one failed caulk line, or one small ceiling crack early can prevent a much larger repair bill later.
📍 How This Applies to Homes in Rockland & Orange County
In Rockland County and Orange County, these repairs show up in a very local pattern. The Hudson Valley climate is tough on houses. Harsh winters tighten everything up, then freeze-thaw cycles start working on joints, trim, caulk lines, and old plumbing connections. By the time spring moisture rolls in, the same homes that felt dry in January suddenly show soft caulk, damp basement corners, and interior doors that don't swing the same way they did a month earlier.
A lot of the homes I work in around Nanuet, Spring Valley, Suffern, Nyack, and New City were built before 1970, and they have their own personality. Older framing, plaster-to-drywall transitions, original wood trim, aging shutoff valves, and decades of settling mean small cracks and sticking doors are just part of the picture. That doesn't mean you ignore them. It means you read them correctly. A hairline seam over a doorway in an older house may be normal seasonal movement, while a repeat leak under an original bathroom sink might be telling you the stop valve or trap assembly is simply at the end of its life.
Over in Orange County, places like Middletown and Newburgh see the same seasonal pattern with a lot of similar housing stock, plus plenty of homes where additions were built in different decades. That's where I often find movement at old-new connections, draft issues around replacement windows, or exterior door problems after a humid summer. Summer humidity swells wood doors, lifts paint on neglected trim, and makes bathroom caulk fail faster if the exhaust fan isn't doing its job.
This is why common household repairs Hudson Valley homeowners deal with can't always be approached like a generic online tutorial. Local homes take on water differently, settle differently, and breathe differently through the seasons. The repairs that last here are the ones that account for spring moisture, summer humidity, older materials, and the simple fact that a house in Suffern or Newburgh has probably seen fifty winters before you ever picked up the caulk gun.
Frequently Asked Questions
Ready to Get Started?
Get Your Free Estimate Today
Serving Rockland County & Orange County, NY. Professional results, guaranteed.
Request a Free Estimate →