Two in the morning, the house is dead quiet, and then that sharp chirp starts up from the hallway ceiling. Not the full alarm. Just that single, maddening beep every 30 seconds that sends you stumbling around in the dark with a step ladder and a bad attitude. I’ve been in homes from Nanuet to Middletown where that chirp had been going on for weeks, and the homeowners honestly thought changing the battery meant the problem was solved.
The trouble is, a lot of smoke detectors don’t fail loudly. They age out. The sensor gets less reliable, dust builds up inside, the plastic yellows, and the unit keeps hanging there like it’s doing its job. According to national fire safety data, three out of five home fire deaths happen in homes with no working smoke alarms. Around Rockland and Orange County, I still see plenty of older units installed before smart phones were even a thing, especially in pre-1970s homes that have been updated room by room but never got a full alarm refresh.
Smoke detector replacement isn’t complicated, but it’s one of those jobs where small mistakes matter. Wrong location, wrong model, mismatched wiring harness, or an expired unit can leave big gaps in your home safety. So let’s walk through when to replace them, why it matters, and how to do it right the first time.
When a Smoke Detector Needs Replacement
A smoke detector isn’t a forever fixture. Most residential smoke alarms should be replaced every 10 years from the manufacture date, not the install date. That date is usually stamped on the back of the unit. I tell homeowners to take the detector down, flip it over, and actually read the label. I can’t count how many times I’ve found a unit in New City or Newburgh that looked fine from the floor but was 12 or 15 years old once we checked the date.
The 10-year rule really matters
The sensing chamber inside the alarm degrades over time. Dust, cooking residue, humidity, insect debris, and normal aging all affect performance. A fresh battery won’t fix an expired sensor. If the alarm has a sealed 10-year lithium battery, you replace the whole unit when it reaches end of life. If it uses a 9-volt or AA backup battery and it’s still under 10 years old, then battery replacement may be enough.
Warning signs beyond the chirp
The obvious signs are end-of-life chirping, yellowed or brittle plastic, random nuisance alarms, or a test button that gives a weak or no response. I also recommend replacement after a significant smoke event, even if the unit still sounds. Heavy smoke can contaminate the sensing chamber. In homes where we’ve had kitchen flare-ups, wood stove backdrafts, or a small electrical fire in the basement, I’d rather see the detector replaced than trusted.
Replace after renovations and electrical changes
Major remodeling is another good time to swap them out. New drywall dust, sanding debris, and power interruptions during renovations are hard on alarms. If you’ve updated the panel, added a bedroom, finished a basement, or converted an attic, your old alarm layout may no longer protect the house properly. Current best practice is a smoke alarm in every bedroom, outside each sleeping area, and on every level, including the basement.
One more thing homeowners miss: smoke detectors and carbon monoxide alarms don’t always share the same life span. Some combo units last 10 years, but some standalone CO units have a shorter sensor life. Read the label, not just the packaging, and put the replacement date on the side with a permanent marker so nobody has to guess later.
Write the manufacture date and the planned replacement year on the visible side of each alarm with a fine-tip Sharpie. It saves a lot of ladder trips later.
Homeowners often keep swapping batteries into an alarm that’s already 10 years old. A new battery won’t restore an expired sensor.
Choosing the Right Detector and Placement
Not every smoke detector belongs in every room, and that’s where a lot of people get tripped up. For most homes, I prefer photoelectric alarms in or near kitchens, hallways outside bedrooms, and near living areas because they’re better at detecting smoldering fires and usually cause fewer nuisance alarms from normal cooking. Ionization alarms respond faster to fast-flame fires, but they also tend to irritate people with false trips near cooking areas. Many manufacturers now push combination or dual-sensor options, which can be a good fit if you want broader coverage in one device.
Good models homeowners actually use
For hardwired replacements, I’ve installed plenty of First Alert BRK 9120LBL and Kidde i12040 units in local homes. For a combo smoke and CO setup, models like the Kidde P4010ACSCO-W or First Alert SC7010BV are common choices, depending on whether you need battery-only or hardwired with battery backup. The key is matching the power type and, for interconnected systems, making sure the new unit is compatible with the existing wiring harness or comes with an approved adapter.
Placement rules that make a real difference
Put smoke alarms inside every bedroom, outside each sleeping area, and on every floor of the house, including the basement. On a flat ceiling, mount them at least 4 inches away from the wall. On a wall, install them 4 to 12 inches below the ceiling. Keep them at least 10 feet from a cooking appliance when possible to cut down on nuisance alarms, and don’t put them within about 3 feet of a bathroom with a shower because steam can set them off. Stay away from HVAC supply registers, ceiling fans, and drafty windows that can keep smoke from reaching the sensor.
Where not to put them
Don’t install smoke alarms in garages, unfinished attics, or dusty utility spaces unless the manufacturer specifically approves it for that environment. In garages, I usually recommend a heat alarm instead, because vehicle exhaust and temperature swings can trigger or damage a smoke detector. In older homes with wood stoves or pellet stoves, placement takes some thought too. You want coverage nearby, but not so close that normal startup smoke becomes a weekly annoyance.
When in doubt, it’s better to add a properly placed unit than assume one hallway alarm covers the whole house. In split-levels and old colonials around Suffern and Nyack, I often find dead zones near back staircases, additions, or finished lower levels where nobody ever added protection after the house changed.
For most family homes, use photoelectric alarms near kitchens and sleeping areas, then add combination smoke/CO units outside bedrooms if you have fuel-burning appliances or an attached garage.
A lot of homeowners install one cheap battery alarm in a central hallway and call it done. That leaves bedrooms, basements, and additions underprotected.
How to Replace a Smoke Detector the Right Way
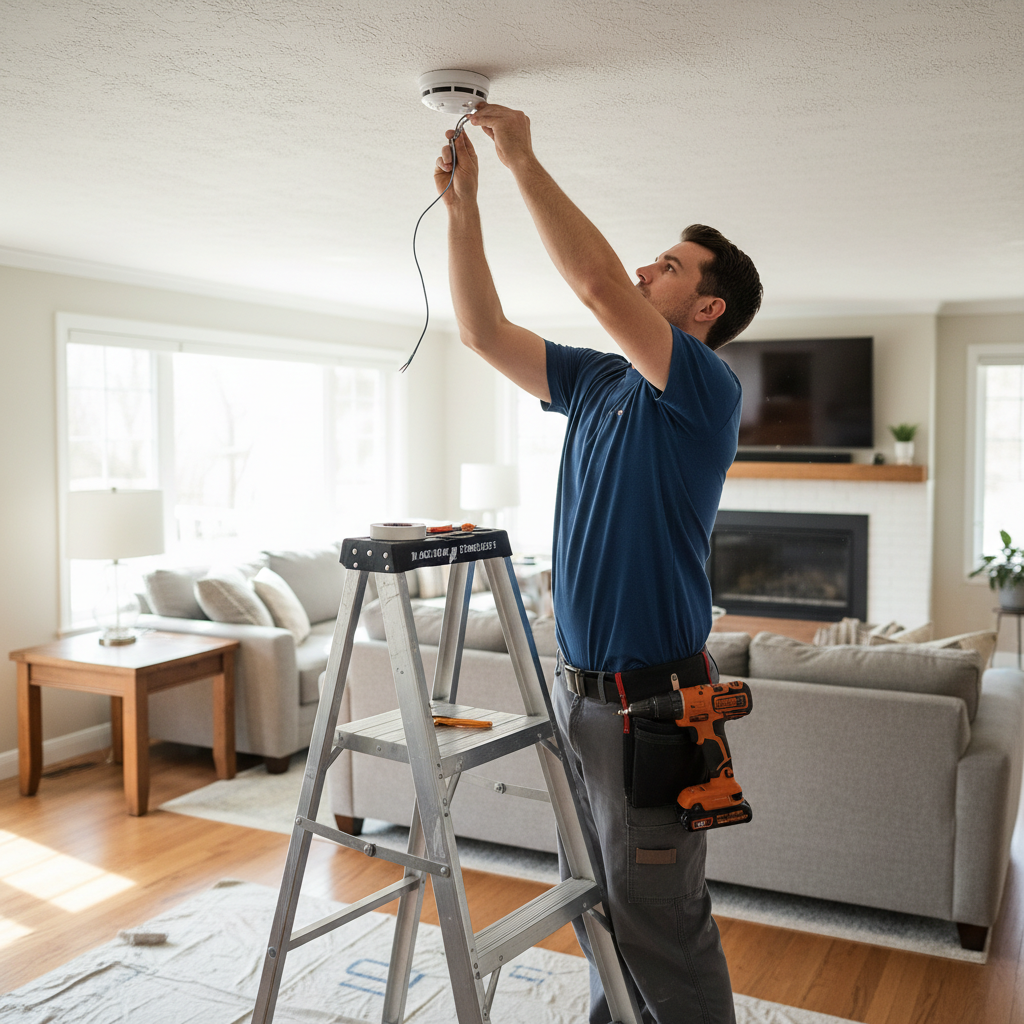
Battery-powered detectors are a straightforward swap, but hardwired alarms deserve a little more care. Start by figuring out what you have: battery-only, hardwired with battery backup, or an interconnected system where one alarm sets off the others. Press the test button on one unit. If all the alarms go off together, you’re dealing with an interconnected setup, and you’ll want replacement units that are designed to work together.
Step 1: Shut off power and confirm it
For hardwired alarms, turn off the breaker before removing the unit. Don’t trust the label alone. Use a non-contact voltage tester to confirm the circuit is dead. Once the alarm is down, unplug the harness and inspect the wiring. Most newer systems use a three-wire setup: hot, neutral, and interconnect. In many houses that means black, white, and red conductors. If the insulation is brittle or the box is loose in the ceiling, stop there and repair the underlying issue first.
Step 2: Use the right mounting plate and connector
This is the part that frustrates homeowners. Even when the new alarm looks just like the old one, the mounting ring and plug often don’t match. Don’t force it. Use the mounting plate that comes with the new detector and the manufacturer-approved harness adapter if one is included. Secure the plate with the provided screws or #6 x 1-1/4-inch screws and anchors if you’re mounting to drywall without solid backing. Make sure the detector sits tight and locks fully into place.
Step 3: Test the whole system, not just one alarm
After power is back on, install the backup battery if the model requires it, then test every unit. On interconnected alarms, one test should trigger the rest. Walk the house and verify them all. I also like to use canned smoke test aerosol once installation is done, especially when we’ve replaced several units at once. The test button checks electronics, but a smoke test confirms the sensing chamber responds the way it should.
Step 4: Label and maintain it
Put the install month and year on each alarm, vacuum around the vents once or twice a year with a soft brush attachment, and test monthly. Don’t paint them, don’t cover them during cleaning, and don’t forget basement units. In homes with multiple alarms from the same age group, I usually recommend replacing them all together. It keeps the system consistent and cuts down on the one-by-one failure cycle that seems to happen at the worst possible time.
When replacing hardwired interconnected alarms, swap all units in the system at the same time if they’re the same age. That avoids compatibility headaches and staggered end-of-life chirping.
People often test only the detector they just installed. On an interconnected system, you need to confirm every alarm in the house responds.
Common Mistakes to Avoid
The biggest mistake I see is confusing battery replacement with smoke detector replacement. A fresh 9-volt battery might stop the chirp for a day, but it won’t fix a detector that’s already at end of life. The second big mistake is mixing brands or model families on a hardwired interconnected system. A First Alert harness isn’t the same as a Kidde harness, and even when an adapter fits physically, interconnect features can be limited if the units aren’t designed to work together.
Another common problem is bad placement. I’ve seen detectors mounted right outside steamy bathrooms, directly over supply vents, too close to ceiling fans, and 2 feet from the stove. Then the homeowner thinks the alarm is defective because it goes off all the time. Most of the time the unit is doing exactly what it’s supposed to do, but it was installed in a lousy spot. Give smoke a clear path to the sensor without putting the alarm where normal air movement or moisture will interfere.
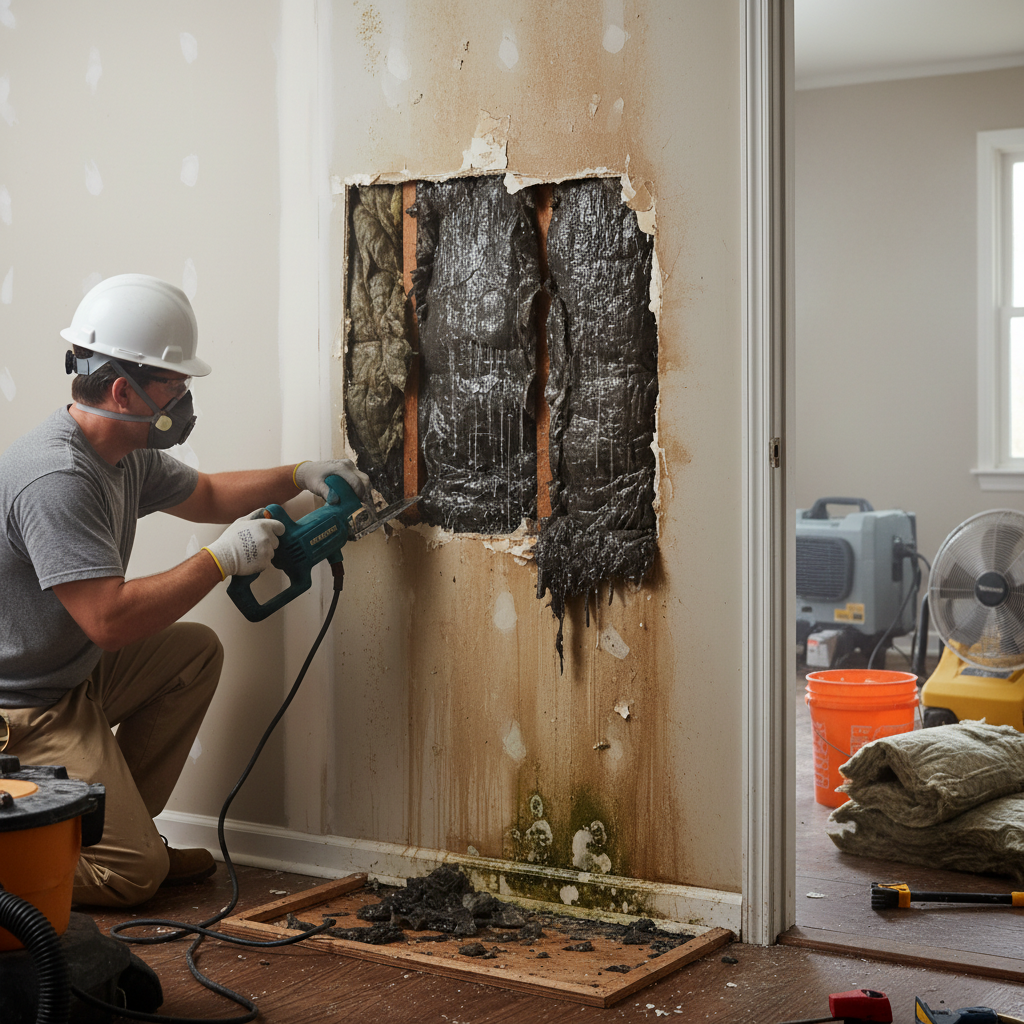
Painting the detector is another one. It happens after ceiling work all the time. The alarm gets rolled over with wall paint, and now the vents are partly clogged. Same goes for dust from sanding, insulation work, or floor refinishing. Cover the alarm during messy work if the manufacturer allows temporary protection, or better yet, remove and reinstall it once cleanup is done. Just don’t forget to put it back.
I also see people leave out carbon monoxide protection entirely. In homes with oil heat, gas appliances, a boiler, fireplace, wood stove, or attached garage, smoke protection alone isn’t enough. A lot of Hudson Valley homes have basements with mechanical equipment, and that’s exactly where you want properly placed CO coverage outside sleeping areas and on each level as required by the unit instructions and local code.
Last one: replacing an old hardwired detector with a battery-only unit because it’s cheaper and easier. That may leave you with a downgraded system and no interconnection. In a real emergency, that extra warning from all alarms sounding together is what wakes people up on the second floor when the problem starts in the basement.
Take one existing detector down before shopping and photograph the label, wiring plug, and manufacture date. It makes model matching much easier at the store.
Replace all same-age alarms in one trip instead of one at a time. You’ll save on service-call charges and avoid buying emergency replacements at inflated prices later.
Cost Breakdown: What to Expect
For DIY smoke detector replacement home safety projects, the material cost depends on the type of alarm. Basic battery-powered smoke alarms usually run about $20 to $50 each. Ten-year sealed battery smoke alarms are often $30 to $70 each. Hardwired smoke alarms generally cost $25 to $65 each, while combination smoke and carbon monoxide units usually fall in the $45 to $90 range. Better models with voice alerts, wireless interconnect, or smart features can climb over $100 per unit.
Professional cost depends on whether it’s a straight swap or a wiring job. In Rockland and Orange County, a handyman may charge around $95 to $150 per hour for simple replacement work when no electrical repair is needed. A licensed electrician is more likely to be in the $125 to $185 per hour range, often with a minimum service call of $125 to $200. Replacing one easy-to-access hardwired detector might cost $150 to $275 total with labor and materials. Replacing a full set of 5 to 7 alarms in an average two-story home often lands between $450 and $1,200, depending on the models and ceiling access.
Costs go up when there’s troubleshooting involved. If an interconnect circuit is acting up, if the ceiling box is loose, if wiring is damaged, or if an older home needs new cable run to add proper coverage, the price changes fast. A partial rewiring job for alarms can run $600 to $1,500. A larger upgrade in an older house, especially where walls or ceilings need to be opened, can reach $1,500 to $3,500 or more.
The cheapest route isn’t always the best value. I’ve had homeowners buy bargain alarms one at a time, then call me back because the tones are different, the mounts don’t match, or one bedroom still isn’t covered. A coordinated replacement plan usually costs less in the long run and gives you a cleaner, more reliable setup.
One smart way to budget it: group smoke detector replacement with other small ceiling or electrical jobs. If I’m already in a house replacing bath fans, swapping light fixtures, or repairing a loose attic hatch trim, adding alarm replacement is far more cost-effective than making a separate trip just for one chirping unit.
Bundle smoke detector replacement with other electrical or ladder-access jobs to reduce the impact of minimum service-call pricing.
Vacuum alarm vents twice a year and test monthly. Keeping dust and insect debris out helps prevent nuisance alarms and premature replacement.
📍 How This Applies to Homes in Rockland & Orange County
Smoke detector replacement has a few local twists here in the Hudson Valley. In Rockland and Orange County, we’ve got a mix of housing stock, from older capes and colonials in Nyack, Suffern, and New City to ranches and split-levels in Nanuet and Spring Valley, plus plenty of older homes in Middletown and Newburgh that have been renovated in stages over the years. A lot of those pre-1970s homes still have outdated alarm layouts, old hardwired units, or additions that were never fully brought into a modern whole-house safety plan.
Our climate doesn’t help. Harsh winters, freeze-thaw cycles, and dry heated indoor air can stress older materials and create power blips during storms. Spring moisture and damp basements can affect detectors near lower levels, and summer humidity can trigger nuisance alarms when units are installed too close to bathrooms or poorly ventilated kitchens. In older homes with attic bypasses or drafty stairwells, air movement can also delay smoke reaching the detector where it should.
I see this a lot in homes around Newburgh and Nyack where the basement houses the boiler, water heater, laundry, and storage all in one space. That setup makes combo smoke and carbon monoxide protection especially important, with reliable alarms outside sleeping areas and on each level. In Spring Valley and Middletown, finished basements and converted family rooms are common, and those spaces often need added protection because they weren’t part of the original floor plan.
For local homeowners, the best approach is simple: don’t assume the alarm setup that came with the house is still right for the way the house is used today. Between older wiring, weather-related wear, and changing room layouts, smoke detector replacement is one of those small projects that can make a very big difference in real-world home safety.
Frequently Asked Questions
Ready to Get Started?
Get Your Free Estimate Today
Serving Rockland County & Orange County, NY. Professional results, guaranteed.
Request a Free Estimate →