Most homeowners don't notice the problem until the paint starts bubbling on a window sill, a porch post feels spongy under a hand, or a screwdriver sinks into trim that looked fine from the driveway. Around here, I see it all the time after a wet spring and a hard winter. What looked like a little peeling paint in November turns into black, crumbly wood by April.
In Rockland and Orange County, rotten wood usually doesn't start with the wood itself. It starts with trapped water. A loose gutter over a fascia board, a failed caulk joint at the top of a window, snow sitting against a door trim leg, or mulch piled too high against siding can quietly feed moisture into the same spot for months. In my own work across Nanuet, New City, Middletown, and Newburgh, I'd say 7 out of 10 rot repairs trace back to one of those simple water-entry issues.
The good news is that rotten wood repair doesn't always mean tearing half the house apart. Sometimes it's a targeted epoxy repair on a non-structural trim board. Other times it's cutting back to solid material and replacing a sill, jamb leg, fascia section, or porch rail the right way. The trick is knowing what you're looking at, how far the damage goes, and when a patch is smart versus when replacement is the only honest fix.
How to Identify Rotten Wood Before It Spreads
The first step in any rotten wood repair Hudson Valley NY job is figuring out whether you're dealing with surface damage, active rot, or full structural failure. Paint alone can fool you. I've opened up plenty of trim boards that looked like they just needed sanding, only to find the back side was completely punky from years of water getting trapped behind it. The most common trouble spots are window sills, brick mold, door jamb bottoms, fascia boards, rake boards, deck stair stringers, porch columns, and any horizontal trim that holds water.
Simple Field Tests That Actually Tell You Something
A sharp awl, 5-in-1 tool, or even a stiff screwdriver is your best first test. Press into the wood in a few places, especially end grain, lower corners, and joints. Sound wood resists and gives you shavings. Rotted wood feels soft, fibrous, or crumbly, and the tool sinks in too easily. I also like using a pin moisture meter. On exterior wood, readings over 20% moisture are a red flag, and once you're over 28%, decay fungi can stay active. Look for paint blistering, black staining, separated joints, mushroom-like growth, and hairline cracks that hold water.
Know the Difference Between Repairable and Replaceable
Not every soft area needs a full tear-out. If the damage is shallow, limited to a non-structural trim face, and the surrounding wood is dry and solid for at least 1 to 2 inches beyond the bad spot, a quality epoxy system can work. Products like Abatron LiquidWood and WoodEpox have their place on old window sashes, historic trim details, and small sill corners. But when rot reaches framing, sill plates, deck ledgers, subfascia, or porch column bases, that's no longer a filler job. At that point, you need to cut back to sound wood and rebuild with proper flashing and drainage.
A lot of rot hides where two materials meet. Window trim rots because the top casing wasn't flashed. Door trim rots because the caulk joint failed and the threshold wasn't sloped. Fascia rots because gutters overflowed or the drip edge never extended into the gutter. Before I price any repair, I trace the water path first. Otherwise you're just fixing the symptom, and the same board will be soft again in two or three seasons.
Probe wood from the bottom up. Rot almost always starts at the lowest edge, end grain, or a horizontal seam where water sits the longest.
Homeowners often scrape, prime, and repaint soft trim without testing it first. Fresh paint can hide active rot for a season, but it won't stop it.
How to Remove and Replace Rotted Wood
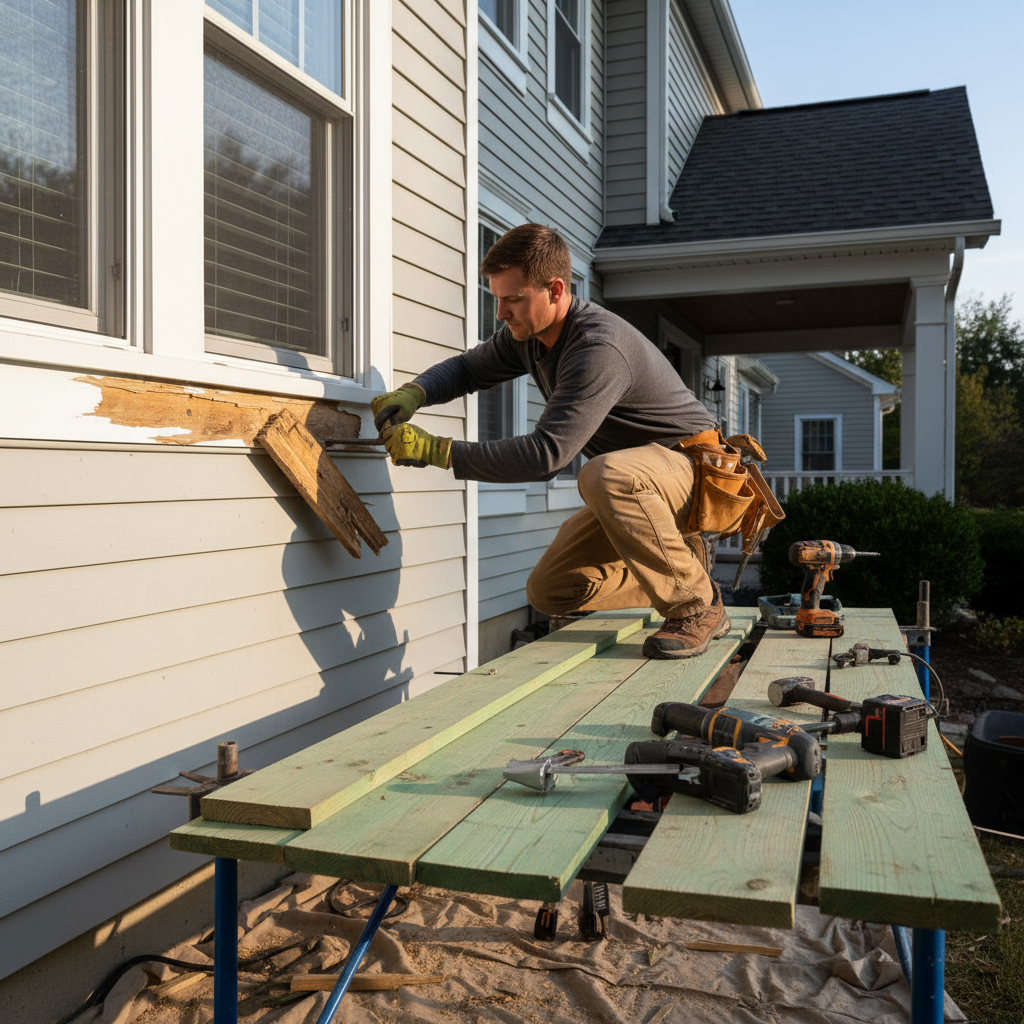
Once you've confirmed the damage, the goal is simple: remove every bit of compromised wood, stop the water source, and rebuild so the new material stays dry. I start by setting a clean work area, pulling nearby trim carefully, and marking cut lines well beyond the soft section. For most exterior trim repairs, I want at least 1 inch into solid wood before I make a final cut. On structural members, I go farther and assess load, fasteners, and adjacent framing before anything comes out.
Cutting Out the Damage the Right Way
For trim, I usually use an oscillating multi-tool for tight cuts and a circular saw set to exact depth where I have room. A scarf joint with an 8:1 bevel holds up much better than a straight butt joint on exposed trim because it sheds water and gives more glue surface. On a 3/4-inch-thick board, that means a bevel roughly 6 inches long. Any exposed surrounding wood gets treated with a borate preservative like Bora-Care or a wood hardener only where appropriate. Then I prime all cut ends with an oil-based or alkyd primer such as Zinsser Cover-Stain or Benjamin Moore Fresh Start before the new piece goes in.
Choosing Replacement Material
For replacement, I match the application, not just the appearance. Clear cedar and vertical-grain Douglas fir are still solid choices for exterior trim when properly primed on all six sides. Pressure-treated wood is fine for structural or ground-near applications, but I don't love it for finish trim because it moves, twists, and needs drying time. In high-splash areas like garage door trim or lower door casings, I'll often recommend PVC trim like AZEK if the homeowner wants less maintenance. If we're keeping real wood for the look, I leave at least 1/4 inch clearance above roofing and 6 to 8 inches above grade whenever possible.
Installation Details That Prevent Repeat Rot
I bed joints in a high-quality sealant like OSI Quad Max or Big Stretch, fasten with stainless or hot-dipped galvanized nails, and leave no raw end grain exposed. Horizontal surfaces get a slight slope away from the house, even if it's only 1/8 inch over the width of a sill nose. Above windows and doors, I add flashing tape or metal head flashing where missing. After installation, I fill fastener holes, spot-prime again, and apply two finish coats. Most failures I replace aren't because the wood was bad. They're because the original installer skipped flashing, trapped water with caulk, or left end cuts unsealed.
Prime all six sides of exterior wood trim before installation, especially the cut ends. That's one of the cheapest ways to extend the life of the repair.
A lot of DIY repairs stop at the visible soft spot. Leaving even a small pocket of punky wood behind can let rot keep spreading under the new patch.
Common Mistakes to Avoid
The biggest mistake I see is confusing filler work with real repair. Wood filler, caulk, and paint have their place, but they don't belong over wet, deteriorated wood. I've been called to homes in Suffern and Nyack where someone packed a sill corner with auto-body filler, painted it beautifully, and six months later the entire sill nose broke apart because the rot was still active underneath. Filler is for stable, dry, limited damage, not for anything structural or moisture-soaked.
Another common problem is fixing the board but not fixing the water. Replacing a fascia board under a leaking gutter joint is a waste of money. So is installing new door trim without addressing splashback from a flat stoop or missing kick-out flashing. Every rotten wood repair should include a moisture investigation: gutters, roof edges, flashing, caulk joints, grading, mulch height, and whether sprinkler heads are wetting the same area every day.
A third mistake is using the wrong material or fasteners. Untreated finger-jointed pine from the home center can work indoors, but it usually doesn't belong on exposed exterior trim in our climate. Standard bright-finish nails rust, bleed through paint, and loosen over time. Interior spackle on an exterior patch fails fast. For outside work, you want exterior-rated epoxy, stainless or hot-dipped galvanized fasteners, and primers and topcoats made for wet-dry cycling.
Last one, and it's a big one: sealing wood so tightly that water can't escape. I see bottom edges caulked shut on siding trim and column wraps all the time. Some assemblies need drainage and ventilation. A tiny uncaulked weep gap at the correct location can matter more than another bead of sealant. The right repair doesn't just block water out. It gives stray moisture a path back out too.
Before approving any repair, ask where the water came from and how the fix will redirect it. A good contractor should answer that clearly, not just talk about replacing boards.
When rot is caught early, replacing a 16-inch trim section is far cheaper than waiting until the surrounding sheathing, framing, and interior drywall get involved.
Cost Breakdown: What to Expect
Rotten wood repair costs in Rockland and Orange County depend on three things: how deep the damage goes, how hard the area is to access, and whether the water source also needs correction. For small, non-structural trim repairs, a homeowner might spend $40 to $150 on materials for DIY, including primer, epoxy or filler, caulk, sandpaper, and paint. A more complete DIY trim replacement with cedar or PVC, stainless fasteners, sealant, and paint can land in the $150 to $400 range depending on board size and tool needs.
For professional work, local labor rates matter. In Rockland County, handyman and carpentry repair rates commonly run about $85 to $125 per hour, with specialized finish carpentry or difficult exterior repair often higher. In Orange County, I typically see $75 to $115 per hour depending on access, travel, and scope. A basic window sill or short trim-leg repair may cost $250 to $650. Replacing multiple fascia sections with gutter removal and reinstall can run $700 to $1,800. A rotted porch column base or structural entry repair can easily reach $1,200 to $3,500 once temporary support, custom milling, and paint work are included.
Typical Price Ranges Homeowners See
For epoxy restoration of a limited, dry, non-structural area, expect roughly $300 to $700 professionally when prep, hardener, shaping, priming, and paint-ready finish are included. Replacing a door jamb leg and brick mold section usually falls around $450 to $950. Deck-related rot is all over the map: one or two deck boards may be a few hundred dollars, but a compromised stair stringer, ledger, or post connection can climb into the thousands because safety rules change the scope fast. Interior rot from a hidden leak is often cheaper per board but can involve drywall, insulation, and mold remediation.
What Changes the Price Fast
Second-story access, lead paint precautions on pre-1978 homes, custom trim profiles, and hidden sheathing damage are the big cost drivers. So is painting. A repair may look straightforward until the old trim comes off and the sheathing behind it reads 30% moisture. My honest advice is to budget a 15% to 25% contingency on older homes where rot has been covered over before. The cheapest quote usually means someone is pricing the visible board only, not the full repair the area may actually need.
Bundle repairs on the same elevation of the house. Replacing two window sills, a fascia section, and a door trim leg in one visit usually costs less than four separate service calls.
Clean gutters at least twice a year and repaint exposed exterior trim before coatings fail. Routine upkeep is much cheaper than replacing wet wood and hidden sheathing.
📍 How This Applies to Homes in Rockland & Orange County
Rotten wood repair shows up a little differently in the Hudson Valley than it does in drier parts of the country. Around Rockland County and Orange County, we've got the full recipe for decay: harsh winters, freeze-thaw cycles, spring moisture, and summer humidity that lingers in shaded areas. Water gets into a tiny crack in December, freezes, opens the joint wider, and by late spring the wood starts holding moisture instead of shedding it. That's why a small paint failure can turn into a soft sill or fascia board faster than homeowners expect.
A lot of homes in Nanuet, Spring Valley, Suffern, Nyack, and New City were built before modern flashing details became standard, especially pre-1970s homes with original wood trim, older windows, or multiple layers of repainting. Those houses can last a long time, but they need better water management than they were originally built with. I regularly find missing head flashing over windows and doors, trim buried into roofing, and old porch columns sitting too close to concrete or soil. In these older homes, rot often hides under paint for years.
In Orange County towns like Middletown and Newburgh, I see a lot of the same problems plus more wind-driven rain exposure on open lots and more splashback issues around porches and garage trim. Spring moisture is a big deal here. Snow melt saturates lower trim, then summer humidity slows drying, especially on north-facing walls shaded by trees. That's when door casings, garage door jambs, and lower corner boards start to go soft first.
For Hudson Valley homeowners, the best approach is preventative and seasonal. Check gutters after fall leaf drop, inspect caulk and paint in early spring, and pay close attention to horizontal trim, sill noses, and any wood within 8 inches of grade. On older homes, I also recommend a yearly walk-around with a probe tool and moisture meter, especially after a wet winter. Catching rot early in this climate can mean the difference between a $400 trim repair and a $4,000 structural rebuild.
Frequently Asked Questions
Ready to Get Started?
Get Your Free Estimate Today
Serving Rockland County & Orange County, NY. Professional results, guaranteed.
Request a Free Estimate →