Interior Painting Rockland County Homeowners Trust: How to Get a Perfect Finish Every Time
After 20-plus years painting Hudson Valley homes, I can tell you the best finish always comes down to smart prep, the right products, and a few pro habits.
Late afternoon sun has a way of telling the truth. It hits a freshly painted living room wall, and suddenly every roller line, patch, and rough spot shows up like it was put under a spotlight. I've had plenty of homeowners in Rockland and Orange County call me after that exact moment, usually saying the same thing: it looked fine at night, then the sun came out and showed every flaw.
Here's the part that surprises people: in my experience, at least 70 percent of paint problems start before the first coat ever goes on. Not bad paint. Not the wrong color. Bad prep, the wrong roller nap, skipping primer, painting over dust, or trying to rush a second coat because dinner's in an hour. In older Hudson Valley homes, especially the ones with patched plaster and years of touch-ups, those little shortcuts show fast.
Good interior painting isn't magic, and it doesn't have to be stressful. Whether you're freshening up a bedroom in Nanuet, repainting a hallway in Newburgh, or trying to make an older family room in Suffern feel new again, the same rules apply. Get the surface right, use the right materials, and slow down where it counts. That's how you get a finish that looks clean on day one and still looks good a few years from now.
Start With Surface Prep Like a Pro
Empty the room and control the dust
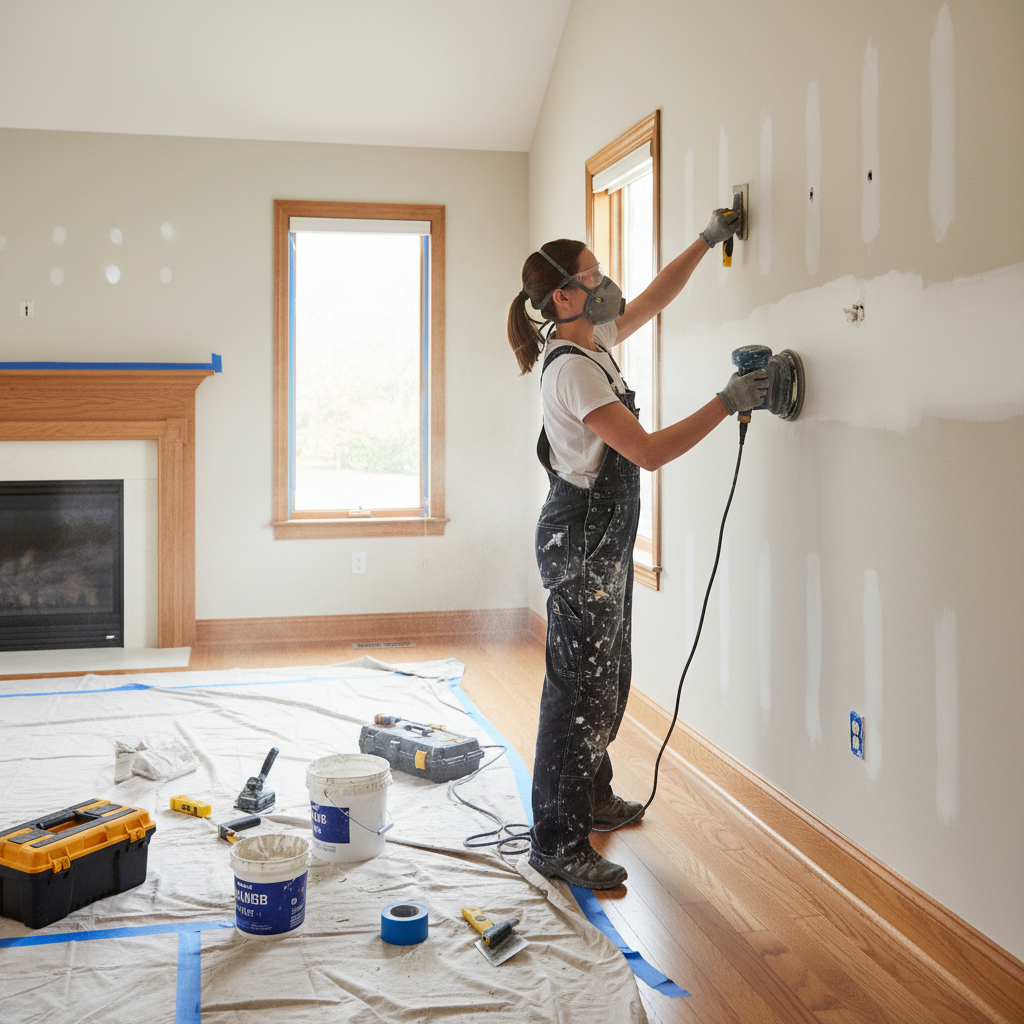
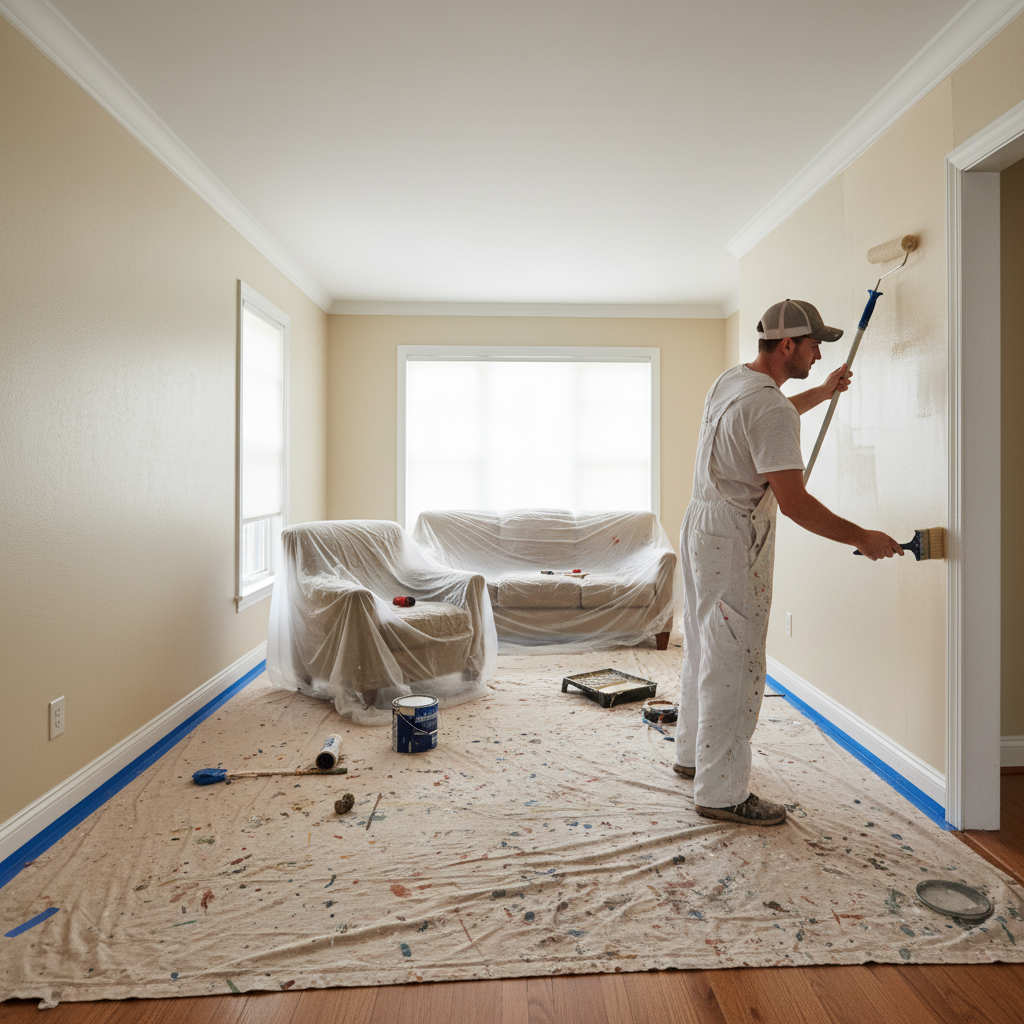
The best paint finish starts before the can is even open. I like at least 3 feet of working space around each wall, so move furniture to the center of the room and cover it with clean plastic, not old bed sheets that let dust through. Pull switch plates, vent covers, curtain hardware, and anything else attached to the wall. Run a vacuum along baseboards and window stools first, then wipe the walls with a damp microfiber cloth. In kitchens, hallways, and kids' rooms, wash greasy or grimy areas with Krud Kutter Original or a mild TSP substitute, then let the walls dry fully.
Patch, sand, and check the wall in side lighting
Small nail holes can be filled with lightweight spackle, but for anything deeper than 1/8 inch, I prefer a setting compound like USG Sheetrock 45 because it shrinks less and sands better. For dents and old anchor holes, I widen the damaged spot slightly with a putty knife, fill it flush, then sand with 120-grit followed by 150-grit. On glossy repairs or rough patches, a final light pass with 220-grit makes a real difference. One contractor trick that saves headaches is shining a work light across the wall from the side. That low-angle light catches ridges and patch marks your overhead fixture won't show.
Caulk the right joints and prime the repairs
A clean paint job has tight lines where trim meets drywall. Use a paintable acrylic latex caulk, like Big Stretch or DAP Alex Flex, only on gaps that are small enough to bridge cleanly, usually 1/8 inch or less. Cut the nozzle small, run a thin bead, and smooth it with a damp finger or caulk tool. After that, spot-prime every patch, stain, and raw area. Benjamin Moore Fresh Start and Zinsser 123 are both dependable. Skip this step and you'll often see flashing, which is when repaired spots absorb paint differently and show through the finish.
Tape less, cut cleaner
A lot of homeowners lean too hard on painter's tape, and then wonder why they get bleed-through or peeled paint. Tape has its place, especially on finished floors or metal fixtures, but on walls and trim I usually trust a steady cut line more than tape. When I do tape, I use FrogTape Delicate Surface or 3M ScotchBlue, press the edge down with a putty knife, and pull it off while the paint is still slightly soft. That gives you a cleaner line and less chance of tearing.
Let the room settle before you paint
Once prep is done, let the room sit for 20 to 30 minutes so airborne dust can settle. Then do one more quick pass with a tack cloth or microfiber on trim and patched areas. That last five-minute check is one of those small habits that separates a decent DIY result from a finish that looks professionally done.
Before painting, hold a bright LED flashlight tight to the wall and move it slowly across every repair. Anything that casts a shadow now will show even more after eggshell or satin paint goes on.
Painting over patched drywall without primer is one of the biggest reasons homeowners see dull spots and patch outlines after the wall dries.
Choose the Right Paint, Sheen, and Tools
Match the paint to the room
Not every room should get the same product. For most living rooms, bedrooms, and hallways, I get reliable results with Benjamin Moore Regal Select or Sherwin-Williams Duration Home. In bathrooms, laundry rooms, and kitchens where moisture hangs around, I want a mildew-resistant paint with a tougher film. Flat paint hides flaws best, but matte or eggshell is usually the sweet spot for walls because it's easier to clean without highlighting every patch. For trim, doors, and baseboards, a satin or semi-gloss enamel holds up better to scuffs and handprints.
Use the right brush and roller nap
Tools matter more than people think. For cutting in, a 2 1/2-inch angled sash brush from Purdy or Wooster gives you control without loading too much paint. For most interior walls, a 9-inch roller frame with a 3/8-inch microfiber nap lays down a smooth finish on standard drywall. On textured walls, step up to a 1/2-inch nap so you actually reach the low spots. Cheap rollers shed lint, and cheap brushes leave drag marks, especially in darker colors. A good brush that you clean properly will last through multiple jobs.
Box your paint and measure your coverage
Even the same color can vary slightly from can to can. When I'm doing a full room, I pour all the gallons into a 5-gallon bucket and mix them together. That's called boxing the paint, and it keeps the color uniform on every wall. Coverage-wise, most paints list 350 to 400 square feet per gallon, but real-world coverage drops when you're going over dark colors, fresh repairs, or porous walls. I usually tell homeowners to plan on two full coats and buy about 10 percent extra so you're not trying to color-match another gallon mid-project.
Keep a wet edge and work in sections
This is where a lot of DIY jobs go sideways. Cut one wall at a time, then roll it while the cut lines are still wet. I work in sections about 3 feet wide, rolling from dry area back into the wet area to avoid lap marks. A roller pole helps keep pressure even, and a loaded roller should sound soft and smooth, not sticky and dry. Don't press hard to squeeze paint out of the cover. That's how you get ridges and uneven sheen.
Respect dry times and room conditions
Most latex paints feel dry quickly, but that doesn't mean they're ready for another coat. I usually wait 2 to 4 hours, longer if the room is cool or humid. Ideal painting conditions are around 60 to 75 degrees with moderate humidity. In the Hudson Valley, I've seen summer humidity add hours to dry time, especially in older homes without central air. A fan helps, but don't aim it directly at the wall or you can skin the paint too fast and leave drag marks.
For the smoothest wall finish, strain your paint into the tray or bucket liner when using leftover paint. Tiny dried bits from the rim are enough to leave tracks in a final coat.
Using a flat finish in a bathroom or a high-gloss finish on imperfect hallway walls usually leads to disappointment. The wrong sheen can either fail early or spotlight every flaw.
Common Mistakes to Avoid
One mistake I see all the time is trying to cover everything in one heavy coat. Thick coats don't save time. They sag, dry unevenly, and can leave a rubbery finish that scuffs too easily. Two controlled coats almost always look better than one overloaded coat, especially with deep colors, grays, blues, and anything with strong undertones.
Another common problem is painting in poor lighting and then being surprised later. Overhead ceiling lights flatten the wall and hide defects, while daylight from side windows exposes them. That's why I check my work with both the room lights on and a handheld work light. It's also why accent walls near big windows need extra care with rolling pattern and patching.
Homeowners also get tripped up by rushing the sequence. They'll paint the walls, then decide to patch a ding near the door, or they'll leave dust on the baseboards and wonder why the trim feels gritty. The cleaner order is simple: prep, patch, sand, prime, cut, roll, inspect, then touch up lightly. And touch-ups only work well when you feather them small. Big touch-up patches often flash and stand out.
The last big mistake is ignoring what's already on the wall. Old smoke stains, water spots, crayon, hairspray buildup, and glossy previous paint all affect adhesion. Stains need a stain-blocking primer like Zinsser BIN or Cover Stain. Glossy surfaces need deglossing or sanding. In older homes, especially anything pre-1978, don't dry-sand unknown paint without checking for lead-safe requirements first. That's not just a paint issue, it's a health and liability issue.
Before committing to a full room, paint two sample boards at least 16 by 16 inches and move them around the room during the day. Color shifts a lot between morning light, afternoon sun, and lamplight.
Spend money on prep tools and roller covers before spending it on the most expensive paint in the store. A mid-to-premium paint applied properly usually beats top-shelf paint applied with poor tools.
Cost Breakdown: What to Expect
Interior painting costs in Rockland and Orange County depend on wall condition, ceiling height, trim detail, and how much furniture has to be moved and protected. For a straightforward bedroom around 10 by 12 feet with 8-foot ceilings and minor patching, a homeowner doing it themselves might spend roughly 150 to 350 dollars on paint, primer, caulk, patch, tape, rollers, brushes, and drop cloths. Step up to premium products and that can easily land closer to 400 dollars.
For professional work, small bedrooms in this area commonly run about 600 to 1,200 dollars, depending on prep and trim. A larger living room or family room can range from 1,200 to 2,500 dollars. Full interior repaints are often priced by room, by square foot, or by the amount of prep involved. In Rockland County, pricing is usually a bit higher than parts of Orange County because labor, insurance, travel, and overhead tend to run higher. A reputable insured painter in this region often has labor rates in the ballpark of 55 to 85 dollars per hour per painter.
Trim, doors, and ceilings can change the numbers fast. Baseboards, crown, window casings, and paneled doors take time because they need more brushwork, sanding, and dry-time coordination. Expect a standard interior door to cost around 125 to 250 dollars to prep and paint properly, while ceilings often add 1 to 2.50 dollars per square foot depending on height, staining, and furniture protection. Heavy patching, water damage repair, wallpaper removal, or dark-to-light color changes add to the final total.
When comparing estimates, make sure you're comparing the same scope. One contractor may include moving furniture, wall washing, two finish coats, trim caulking, and premium paint. Another may not. Ask what brand and line of paint is included, whether primer is separate, how many coats are covered, and what level of wall repair is assumed. The cheapest number on paper isn't always the cheapest job once change orders and callbacks start piling up.
Bundle adjacent rooms, hallways, or trim work into one project. Mobilization, setup, and material delivery are already covered, so the per-room price usually comes down.
Keep a labeled touch-up container with the room name, brand, color code, and sheen. Stored properly, it can save you from repainting an entire wall over one scrape or nail pop.
📍 How This Applies to Homes in Rockland & Orange County
Interior painting in Rockland County and Orange County isn't quite the same as painting in a brand-new, climate-controlled house somewhere else. The Hudson Valley climate affects how paint behaves inside the home more than most people realize. Harsh winters dry out wood trim and open up hairline gaps at joints. Then freeze-thaw cycles and spring moisture make older plaster and drywall repairs move just enough to show cracks again. By summer, humidity can slow dry times and leave walls tacky longer than expected.
A lot of homes in places like Nyack, New City, Suffern, and Newburgh were built well before the 1970s, and those older interiors come with their own quirks. I've worked in plenty of pre-1970s houses where one wall is original plaster, the next is patched drywall, and the trim has been painted so many times the profiles are barely visible. In those homes, prep isn't optional. You have to test questionable layers, watch for old stains, and be careful sanding any surface that may have older paint underneath.
In Nanuet and Spring Valley, I see a lot of high-traffic family homes where hallways, kitchens, and stairwells take a beating. Those spaces need washable finishes and better wall prep because every old scuff and repair shows in natural light. In Middletown and Newburgh, where room sizes can be a little larger and humidity can linger in certain homes, ventilation matters just as much as brush technique. I've had jobs where simply running a dehumidifier overnight made the second coat lay down cleaner the next morning.
The local rule of thumb is simple: don't judge paint by the label alone, judge it by the house it's going into. A newer home in New City may handle a standard two-coat repaint with minimal fuss. An older river-town home in Nyack or a draftier place in Suffern may need patching, stain blocking, caulk, and extra curing time to really look right. That's why the best interior painting Rockland County homeowners can do is tailored to the room, the season, and the age of the house.
Frequently Asked Questions
Ready to Get Started?
Get Your Free Estimate Today
Serving Rockland County & Orange County, NY. Professional results, guaranteed.
Request a Free Estimate →