Most homeowners don’t notice the trouble until the front porch starts talking back. A board gives a little under your heel, the railing wobbles when you grab it with groceries in your hands, or one corner looks just a bit lower than it did last winter. By the time I get a call for porch repair in Rockland County, the surface problem people see from the driveway is usually only half the story.
Around Rockland and Orange County, porch damage sneaks up fast because the weather works both ends of the problem. Winter freeze-thaw opens tiny cracks, spring moisture keeps framing wet, and summer humidity slows everything from drying out. In my experience, nine out of ten porches with one visibly rotten board have hidden moisture damage somewhere underneath, usually at the rim joist, stair stringers, or the bottoms of the posts.
The good news is that most porches can be repaired without tearing off the whole structure, but only when the repair is done in the right order. You don’t start with paint and patching. You start with movement, water, and structure. Once you know whether the porch is sagging from bad footings, rotting from trapped moisture, or failing because the fasteners have let go, the fix becomes a lot more straightforward.
Diagnose the Damage Before You Buy Materials
Start with movement, not cosmetics
Before you pull a single board, walk the whole porch slowly and pay attention to bounce, tilt, and soft spots. I like to use a 6-foot level, a small laser level, and a flat pry bar. A porch floor should drain away from the house, but only slightly. When I see more than about 1 inch of drop across an 8-foot span, or a sudden dip in one area, that usually means a joist, beam, post, or footing issue instead of simple surface wear.
Probe the wood and check the moisture
Next, get under the porch when possible and probe suspect areas with an awl or screwdriver. Good lumber resists. Rotten wood lets the tool sink in like you’re poking a sponge. I also use a moisture meter, something like a General Tools MMD4E or Wagner meter, around posts, stair stringers, and where the porch meets the house. Repeated readings over 20 percent moisture tell me the porch isn’t drying properly, and that means the repair has to address drainage and ventilation, not just wood replacement.
Look at the connection points
A lot of porch failures don’t begin in the middle of the floor. They start at the ledger, beam pockets, post bases, and rail connections. Check for rusted fasteners, pulled nails, split posts, loose carriage bolts, and joist hangers that were either never installed or installed with the wrong nails. I still see old repairs where somebody used drywall screws outside. Those snap, especially after a few Hudson Valley winters. Structural areas should have hot-dip galvanized or stainless fasteners, and connectors rated for pressure-treated lumber, like Simpson Strong-Tie ZMAX hardware.
Separate structural damage from finish damage
There’s a big difference between a porch that needs a few new deck boards and one that needs framing work. Minor finish damage might mean replacing a couple of 5/4x6 pressure-treated boards, scraping, priming, and repainting. Structural damage means sistering joists, replacing a rim board, resetting posts, or rebuilding steps. Railings are their own category, too. Even when the porch floor is still decent, a loose guardrail is a safety issue that shouldn’t wait.
Decide what can stay and what has to go
My rule is simple: any wood that has lost strength gets replaced, not coated over. Small non-structural trim rot can sometimes be repaired with an epoxy system like Abatron LiquidWood and WoodEpox. But joists, posts, beams, stair stringers, and rail posts need real lumber repairs. Once you know what’s surface-level and what’s structural, you can price the project honestly and avoid doing the same repair twice.
Take photos underneath the porch before demolition starts. It helps you track where joists, posts, and utilities are, and it makes it much easier to rebuild exactly what was there.
Homeowners often replace the visible bad board and leave the wet joist underneath. Six months later the new board starts cupping or loosening because the real problem was never fixed.
How to Fix a Sagging Porch Frame
Support first, then lift slowly
A sagging porch needs to be stabilized before anything comes apart. I set temporary support with solid cribbing on stable ground, then use hydraulic bottle jacks or house jacks under a temporary beam, usually doubled 2x10 or 2x12 lumber depending on the load. Old porches should be lifted slowly, often no more than about 1/8 inch at a time, especially on homes with older trim, masonry steps, or brittle plaster inside. Rush that part and you can crack more than the porch.
Replace failed posts, beams, and joists the right way
Once the porch is supported, you can remove the failed members. For posts near grade, I use ground-contact pressure-treated 6x6 posts rather than 4x4 whenever the layout allows. Beam repairs often mean a new built-up beam, such as triple 2x10 pressure-treated lumber, through-bolted with 1/2-inch hot-dip galvanized bolts and washers. Damaged joists can be sistered with matching pressure-treated lumber using structural screws like Simpson SDS or LedgerLOK fasteners, along with exterior adhesive such as Loctite PL Premium where appropriate.
Fix the footings, or the sag will come back
A lot of porch sag in this area comes from undersized or shallow footings. In Rockland and Orange County, anything supporting a porch should be below frost depth, which is commonly around 42 inches, depending on site conditions and local code requirements. When a footing has heaved, sunk, or crumbled, patching above it is just buying time. In those cases, I recommend new concrete footings and proper post bases, such as Simpson Strong-Tie ABU66Z or CBSQ bases, to keep wood off concrete and out of standing water.
Rebuild the house connection and drainage details
Where the porch ties into the home matters just as much as the porch itself. A failing ledger board, missing flashing, or trapped water at the siding line can rot framing fast. During repair, I like to install self-adhered flashing tape such as Vycor or ZIP System flashing, then metal Z-flashing above the ledger or trim transition. That one detail saves a ton of callback work because it stops the same water from getting back in.
Check the stairs and rail loads before finishing up
Once the structure is back in plane, I check stair geometry and railing strength before the finish boards go on. Stringers with notches that are split, soft, or overcut should be replaced, not patched. Guards and handrails need solid blocking and proper bolts, especially at the post connection. You’d be surprised how many porches feel fine underfoot but still fail the minute somebody leans on the rail at a family barbecue.
When you sister a joist, run the new member at least 3 feet past the damaged area on both sides whenever possible, and fasten it on a tight schedule instead of just a few random screws.
Jacking a porch too fast can crack columns, bind doors, and damage old trim. Slow, measured lifting is safer and usually gives a better finished result.
Repairing Rotting Boards, Rails, and Steps
Replace porch flooring based on the porch type
An open front porch and a covered front porch don’t always get the same flooring. Open porches usually do well with 5/4x6 pressure-treated decking or a quality composite rated for porch use. Covered porches on older homes often have tongue-and-groove fir flooring, and when I’m matching an older look in places like Nyack or Newburgh, I try to keep the profile consistent. The important part is leaving proper drainage and end gaps where the product requires them, because trapped water is what starts the next cycle of rot.
Cut back to solid wood, not to what’s convenient
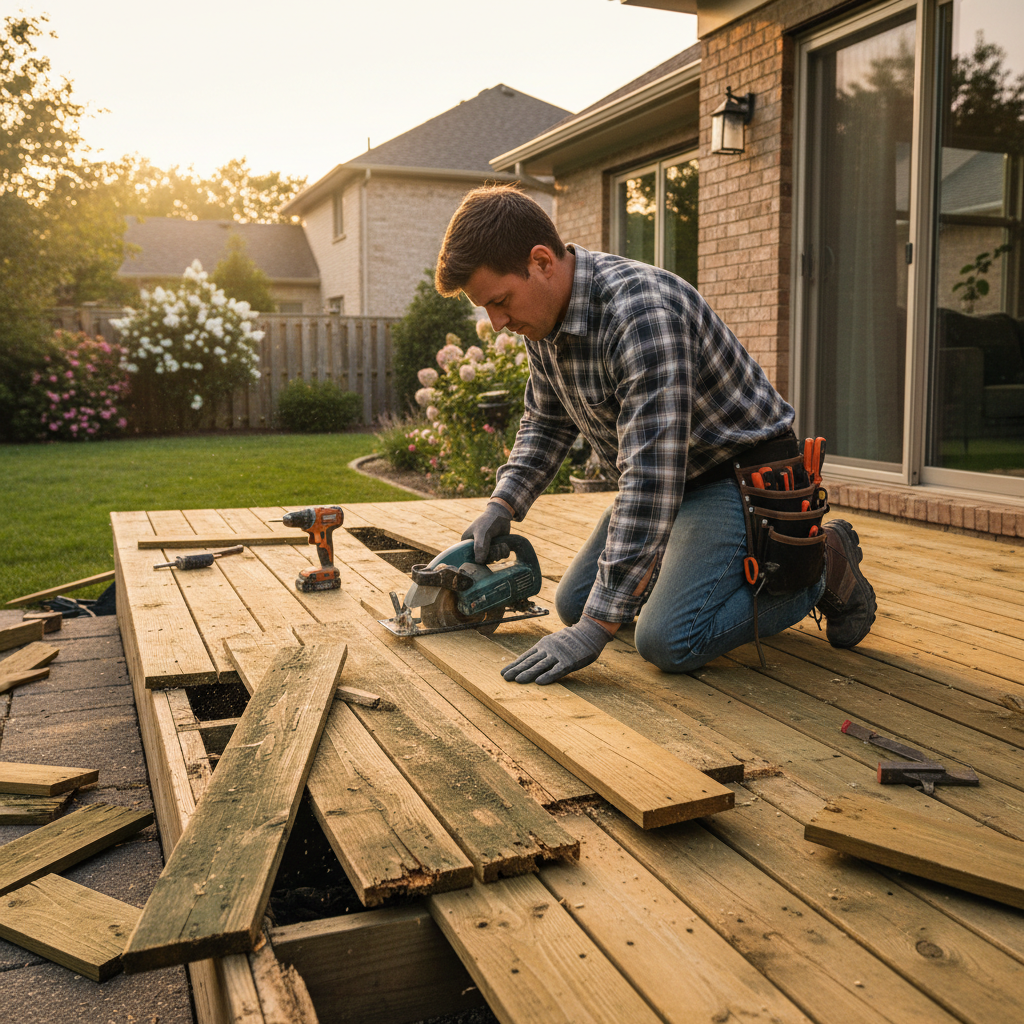
When replacing rotten boards or trim, I always cut back to sound material. That may mean removing two extra boards to reach a joist center, or pulling skirt trim so a splice lands where it can be flashed and fastened properly. Short patches in random spots don’t hold up well. On stair treads and risers, I replace in full widths whenever possible and make sure the stringers underneath are still dry and solid before new material goes on.
Railings need to be both sturdy and code-conscious
Loose porch rails are one of the most common calls I get from homeowners with kids or older parents in the house. A rail post should be tied into framing with bolts and blocking, not just long screws into the rim board. As a rule of thumb, guard spacing should keep a 4-inch sphere from passing through, and guard height is commonly 36 inches minimum on residential porches, though local requirements should always be confirmed. Decorative is fine, but safe comes first.
Don’t skip the prep before painting or staining
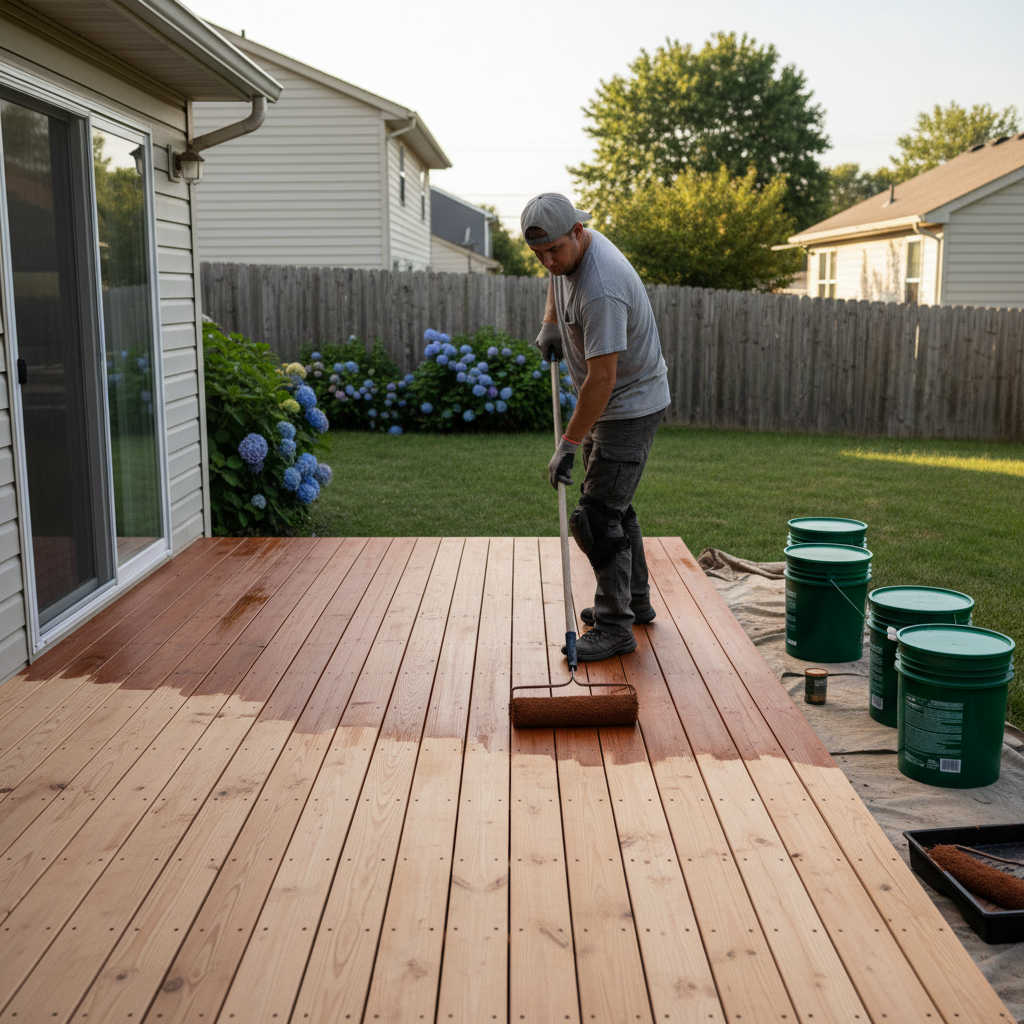
Once repairs are complete, let pressure-treated lumber dry to the manufacturer’s recommendation before coating. On many treated products, that can mean several weeks depending on weather and sun exposure. For paint systems on older porches, I’ve had good luck with an oil or bonding primer followed by a high-quality exterior porch and floor enamel from Benjamin Moore or Sherwin-Williams. On trim joints, use a paintable polyurethane or high-grade exterior sealant, not cheap painter’s caulk that shrinks after one season.
Finish details are what make the repair last
I like to add joist tape on horizontal framing during rebuilds, install proper drip edges, and leave ventilation where skirting is used. Those aren’t glamorous upgrades, but they matter. A porch that looks beautiful for six months and then starts peeling, cupping, or loosening again wasn’t really repaired. It was dressed up.
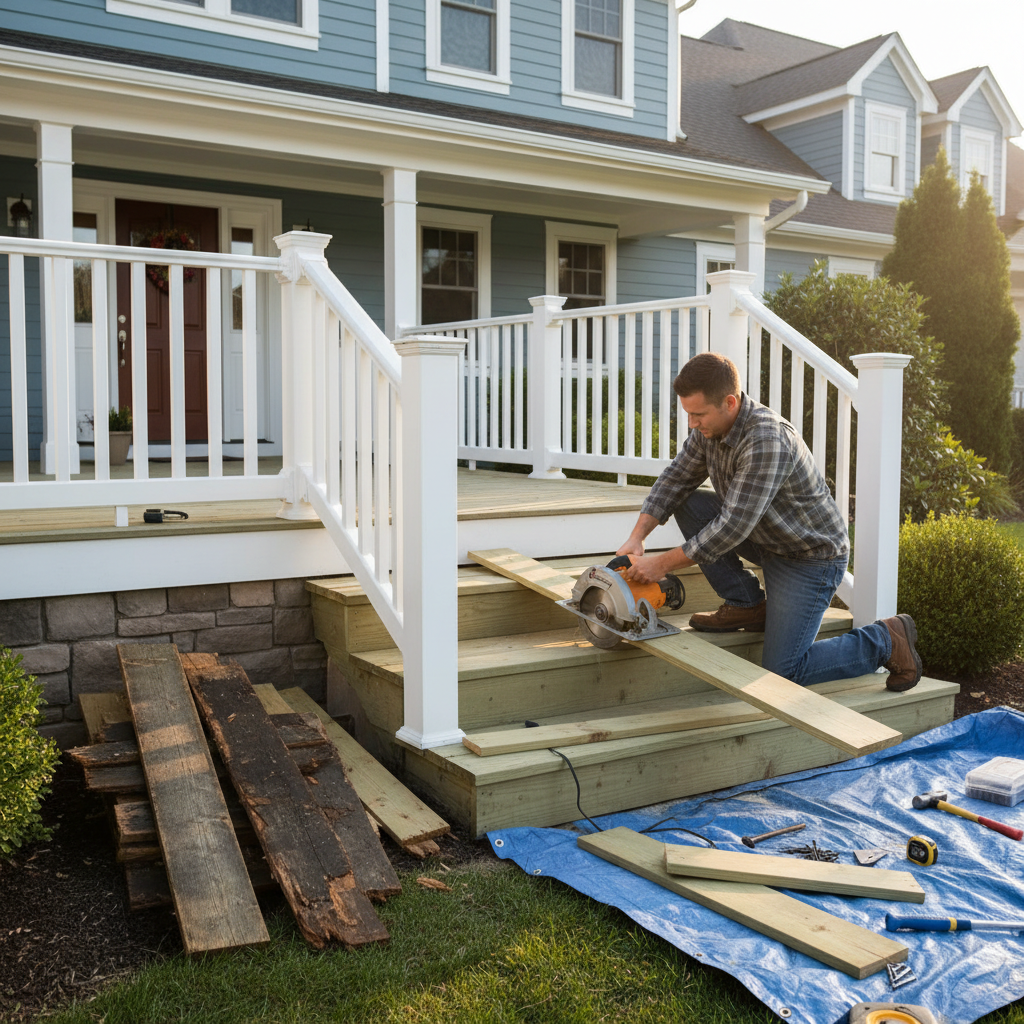
When replacing stair treads, use two screws at every stringer location and pre-drill near board ends to prevent splitting, especially on dry pressure-treated lumber.
A lot of DIY repairs reuse a wobbly rail because it still looks decent from the front. If the post connection is loose, cosmetic fixes won’t make it safe.
Common Mistakes to Avoid
The biggest mistake I see is treating porch repair like a paint project. Homeowners scrape, fill, and repaint, but they never solve the wet framing, bad flashing, or missing post bases underneath. That buys you a nicer-looking porch for one season, maybe two, and then the bubbling paint and soft spots come right back.
Another common one is mixing the wrong materials and fasteners. Exterior repairs need pressure-treated or naturally durable wood where appropriate, plus compatible hardware. Regular drywall screws, electroplated fasteners, and untreated pine near grade just don’t belong on a porch in the Hudson Valley. They fail early, and once rust starts bleeding through paint, the damage tends to spread faster than people expect.
I also see a lot of undersized patching. Someone cuts out a 10-inch rotten section in the middle of a board, adds blocking in awkward spots, and creates three more places for water to sit. Same goes for joists that are sistered too short or posts that are shimmed instead of replaced. Structural repairs need full bearing, solid fastening, and proper load paths. A porch isn’t forgiving when that part is skipped.
The last big mistake is ignoring code and safety details. Stair rise and tread dimensions need to be consistent, handrails need to be graspable, and guards need real strength. Even on a small front porch, those details matter for family safety and resale. I’ve been on plenty of jobs where the original repair would have cost less than the second repair plus all the cleanup from waiting too long.
When more than one post, beam section, or stair stringer is compromised, have the framing evaluated before you start buying finish materials. The structure decides the scope, not the other way around.
Save money by repairing early. Replacing three porch boards and one joist is a much smaller bill than rebuilding the framing, stairs, rails, and footings two winters later.
Cost Breakdown: What to Expect
Porch repair costs in this area vary a lot based on whether you’re dealing with surface boards or structural framing. For a small cosmetic repair, like replacing a few damaged boards, fastening loose trim, and repainting a limited area, DIY materials might run about 150 to 500 dollars. Hiring it out for the same small repair is often in the 500 to 1,500 dollar range depending on access, prep, and finish work.
Once you get into structural repairs, the numbers move quickly. Replacing one or two posts, a short beam section, and several joists can land around 1,800 to 4,500 dollars. Rebuilding porch steps with new stringers, treads, risers, and rails often runs 1,200 to 3,500 dollars. A larger repair involving footings, framing, decking, and rail replacement can range from 4,000 to 12,000 dollars or more, especially on older homes where demolition reveals hidden damage.
For labor rates, homeowners in Rockland County and Orange County typically see handyman pricing around 85 to 125 dollars per hour for smaller repair work, while experienced carpentry or porch repair crews are more often in the 95 to 140 dollars per hour range per lead carpenter, or priced by the job. Specialty structural work, permit coordination, and multi-day crews will push costs higher. Material pricing also changes depending on whether you use pressure-treated lumber, composite decking, PVC trim, stainless fasteners, or custom millwork to match an older porch.
DIY can make sense for simple board replacement, scraping, painting, or swapping non-structural trim. It usually stops making sense once you need jacking, post replacement, footings, rail code corrections, or ledger repairs at the house. Those jobs need the right tools, the right sequence, and usually more than one set of hands. I tell homeowners all the time: the expensive part of porch repair isn’t the lumber, it’s doing structural work twice because the first fix was based on what looked bad instead of what was actually failing.
You may also need to budget for permits, disposal, and finishes. Depending on the scope and municipality, permit costs can add a few hundred dollars. Dump fees, delivery charges, and paint or stain systems add up too. The best way to keep the price under control is to scope the repair accurately at the start and deal with water management while everything is open.
Bundle related repairs while the porch is open. Replacing flashing, joist tape, and one weak stair stringer during the main repair is cheaper than reopening the work next year.
Clean leaves out of porch corners, keep snow from sitting against steps and posts, and touch up failed paint early. Moisture control is the cheapest porch repair you’ll ever do.
📍 How This Applies to Homes in Rockland & Orange County
Porch repair in Rockland County and Orange County has its own personality because our weather is hard on exterior wood. The Hudson Valley gives us harsh winters, regular freeze-thaw cycles, soaking spring moisture, and summer humidity that keeps shaded porches from drying out. That’s exactly why a porch that looked fine in October can feel soft by April. Water gets into small cracks, freezes, expands, and then spring keeps feeding the damage.
A lot of homes in places like Nanuet, Spring Valley, Suffern, Nyack, and New City were built before modern flashing details and pressure-treated framing were standard. On older pre-1970s homes, I regularly find porch posts sitting too close to grade, rim boards with years of paint trapping moisture, and stair assemblies rebuilt over the decades with mismatched materials. In those cases, the right repair is usually a combination of structural correction and moisture management, not just swapping boards.
Orange County has plenty of the same issues, especially in Middletown and Newburgh where older housing stock and sloped lots can make porch settlement more noticeable. Homes on uneven grades often get movement at one corner first, while heavily shaded porches stay damp longer and rot faster. Add snow piles, clogged gutters, and splashback from poor drainage, and it’s easy to see why porch framing starts to go before the homeowner realizes it.
What works best locally is building for our climate, not for a brochure photo. That means footings below frost depth, proper flashing where the porch meets the house, post bases that keep wood off concrete, and finishes that can handle wet springs and humid summers. For porch repair Rockland County homeowners can count on, the repair has to solve both the structural problem and the water problem, or the Hudson Valley weather will win again.
Frequently Asked Questions
Ready to Get Started?
Get Your Free Estimate Today
Serving Rockland County & Orange County, NY. Professional results, guaranteed.
Request a Free Estimate →