The call usually comes in right after the first warm weekend. Somebody’s out on the deck with a broom, getting ready for a barbecue, and one board feels soft underfoot. Then they grab the rail and it shifts more than it should. By the time I get there, what looked like a small nuisance has turned into rot around the stairs, popped fasteners, and a ledger pulling away from the house by just enough to make my stomach tighten up.
Around Rockland and Orange County, I see the same pattern every spring. Snow sits, ice melts, water works into cracked stain and open screw holes, and by April the damage shows itself. In my own schedule, more than half the deck repair calls I get started with something the homeowner thought was minor: one split board, one shaky post, one step that felt a little springy. Decks almost never fail all at once. They warn you first.
That’s why deck repair Rockland County NY homeowners put off until summer usually costs more than it should. Catching the trouble early means you can often replace a handful of boards, tighten the framing, improve drainage, and seal things up before the whole deck needs major work. The good news is most aging decks can be made safe and solid again, as long as you know what to look for and you don’t patch over structural problems with cosmetic fixes.
Warning Signs Your Deck Needs Repair
A deck usually tells on itself before it gets dangerous. I tell homeowners to stop looking only at the top surface and start looking at how the whole thing behaves. When you walk across it, does it bounce more than it used to? Does the railing wiggle when you lean on it? Do stair treads feel solid at the center but weak at the ends? Those little changes matter.
Surface damage you can spot from above
Start with the decking boards themselves. On most wood decks around here, that means 5/4 by 6 pressure-treated boards or older 2 by 6 decking. Look for long splits, soft spots around fasteners, cupping deeper than about 1/4 inch, and black staining that stays damp after the rest of the deck dries. Take an awl or a small flat screwdriver and press into any dark area, especially near board ends and where boards cross joists. Sound wood resists. Rot lets that tool sink in.
Structural warning signs under the deck
Then get underneath with a flashlight. I’m checking joists, beams, post bases, and especially the ledger board where the deck attaches to the house. Probe the ends of joists, because that’s where trapped moisture usually starts the decay. On a typical deck with joists spaced 16 inches on center, even one or two rotted joist ends can create a soft walking surface above. Rusted joist hangers, missing fasteners, or old nails backing out are also red flags.
Railings, stairs, and hardware problems
Most railing failures don’t start with the top rail. They start at the post connection. Grab each post and push hard side to side. A safe rail shouldn’t rack or shift noticeably. I also look for loose balusters with gaps over 4 inches, stair stringers that have split at the bottom cut, and fasteners that are the wrong type for treated lumber. Old electroplated screws corrode fast in pressure-treated wood, and once that hardware goes, the deck can feel fine one week and sketchy the next.
Repair or replace?
Not every old deck needs to be torn down. When the framing is solid and the damage is mostly in the deck boards, stairs, or railings, a good repair can buy you many more years. But when I find widespread rot at the ledger, multiple failing joists, sinking footings, or posts that are rotted at grade, that’s when we have the bigger conversation. The key is being honest about whether you’re fixing isolated damage or trying to rescue a structure that’s already past its useful life.
Do the awl test at board ends, stair treads, and around fasteners after a rain. That’s when soft wood shows up fastest.
Homeowners often focus on cracked deck boards and miss the ledger, joists, and railing posts underneath, which are the parts that actually keep the deck safe.
How to Fix the Most Common Deck Problems
Once you know where the damage is, the repair has to match the problem. A lot of deck issues look similar from above, but they’re fixed very differently. A split board is one thing. A loose board caused by a failing joist below is another. Start by isolating whether the problem is surface-level, connection-related, or structural.
Replacing cracked, cupped, or rotten deck boards
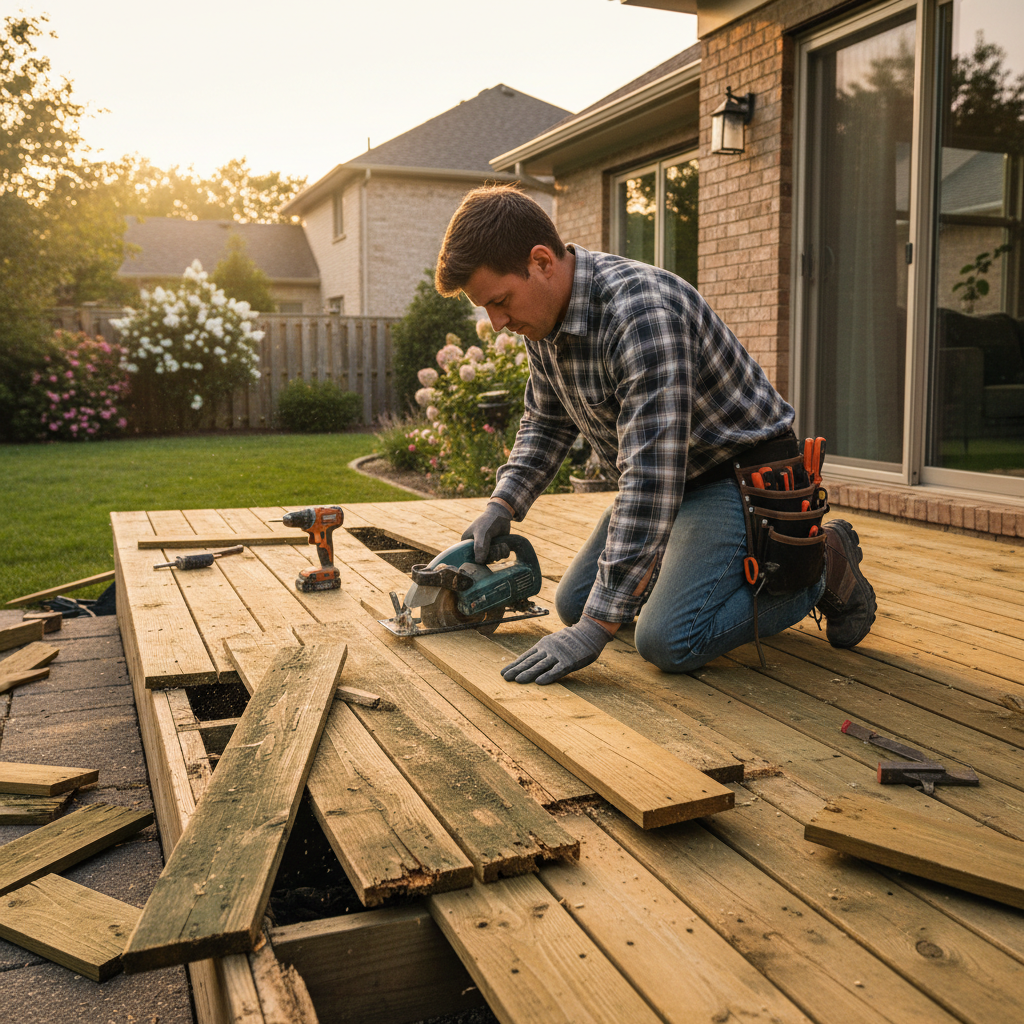
For damaged decking, remove the board cleanly without beating up the boards beside it. I usually cut the bad board down the center with a circular saw set just shy of the board thickness, then pry each side up separately. Replace it with matching 5/4 by 6 pressure-treated decking or a comparable board if you’re resurfacing. Use two 2 1/2-inch exterior structural deck screws at every joist, keeping them about 3/4 inch in from each edge, and predrill within 1 inch of the board ends to prevent splitting. Leave roughly a 1/8-inch to 3/16-inch gap depending on moisture content and manufacturer guidance.
Tightening up rails and stairs
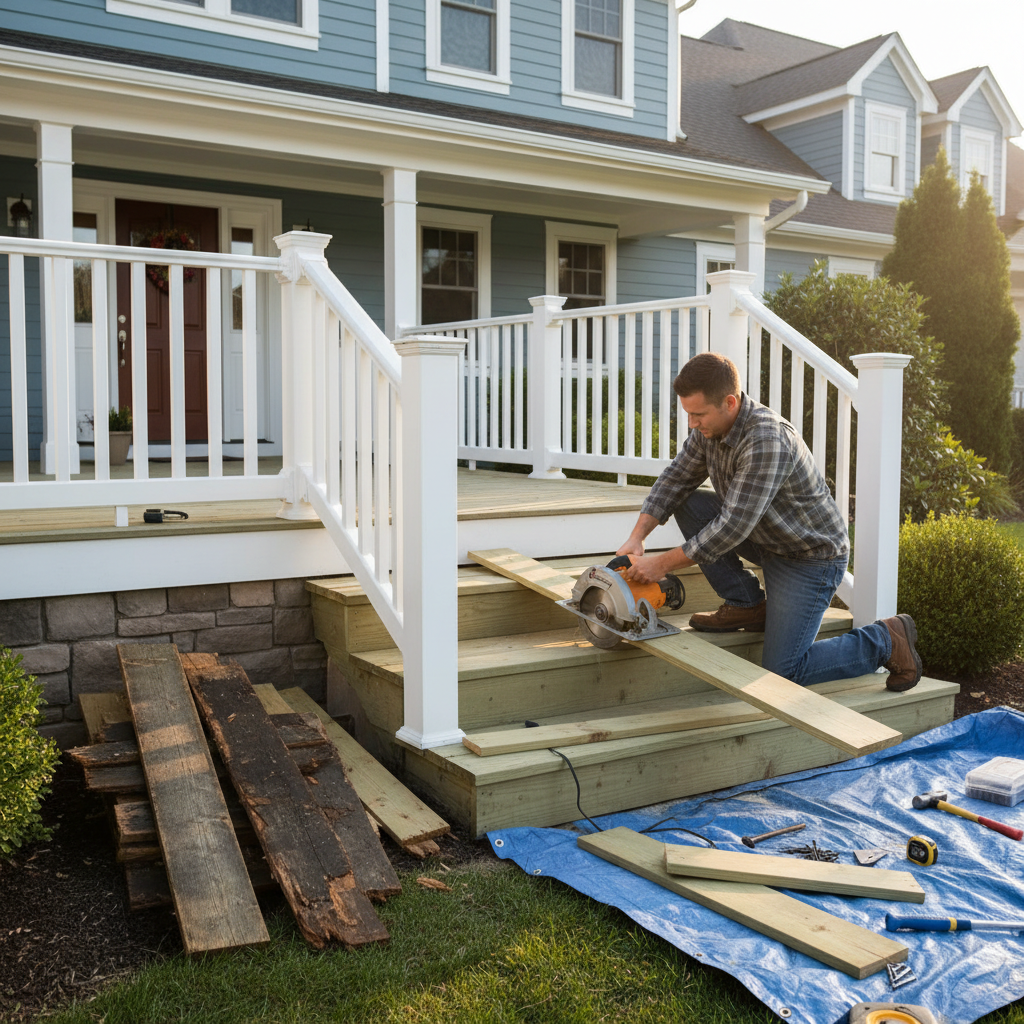
A wobbly railing usually needs more than longer screws. The strongest fix is a proper post-to-frame connection using blocking and through-bolts, not just face-screwed posts. On repair jobs, I often install solid 2 by 8 blocking between joists and use 1/2-inch hot-dipped galvanized carriage bolts with washers, or Simpson Strong-Tie DTT2Z tension ties when the framing layout allows. For stairs, replace split treads, check that the stringers are bearing fully on a landing pad, and refasten with corrosion-resistant screws or structural connectors instead of plain drywall or deck screws.
Dealing with shallow rot and weather damage
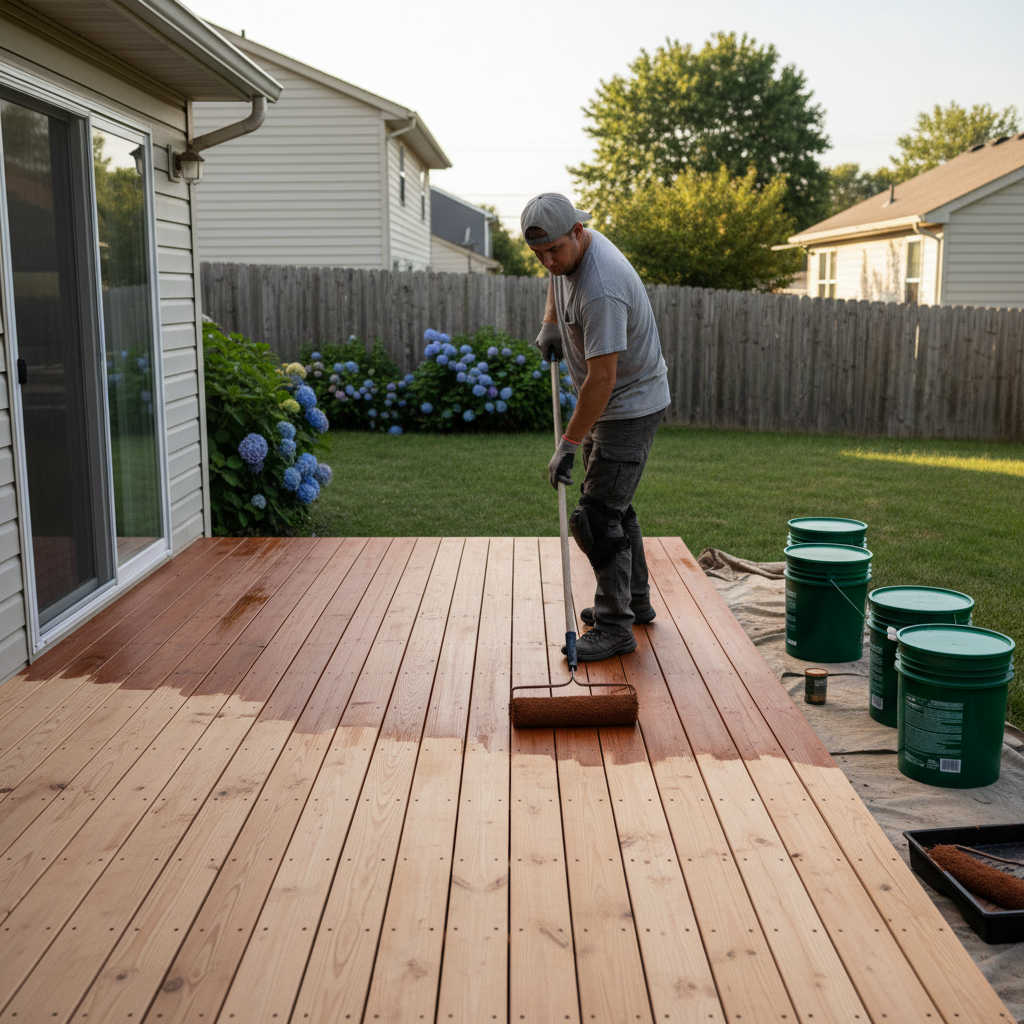
Not every soft area means full replacement, but you’ve got to be realistic. For minor localized rot on non-structural trim or rail caps, an epoxy system like Abatron LiquidWood and WoodEpox can work. I don’t use filler on structural members, and I don’t recommend it on heavily trafficked deck boards. After repairs, wash the deck with a proper cleaner such as Defy Wood Cleaner or a sodium percarbonate-based product, brighten the wood if needed, and let it dry fully before applying a penetrating stain like Armstrong-Clark or Ready Seal.
Protecting the repair so you don’t do it twice
The best deck repair is the one that doesn’t have to be repeated next year. Whenever I replace boards, I like to add butyl joist tape on exposed joist tops if the decking is off. That simple step helps keep water out of screw penetrations and slows rot on older framing. I also check for trapped leaves between boards, poor drainage at the base of stairs, and planters sitting directly on the deck surface. Fixing the source of moisture is just as important as swapping out the damaged wood.
When you replace only a few deck boards, pull boards from a less visible area first to compare thickness and actual width. Older pressure-treated lumber often doesn’t match modern stock exactly.
One of the biggest mistakes is trying to stiffen a wobbly railing with longer screws alone. Rail posts need blocking, bolts, or approved connectors to stay safe.
Structural Repairs That Can't Wait
This is the part of the job where I tell homeowners not to gamble. Cosmetic repairs can wait a week or two. Structural deck issues should not. When a ledger is loose, a beam is sagging, or a post is rotted at the base, the deck may still look usable, but that’s exactly how people get hurt. Most serious failures happen at connections, not in the middle of a nice-looking board.
Ledger board and house connection repairs
The ledger is the board that ties the deck to the house, and it’s one of the first places I inspect on older decks. I look for missing flashing, soft wood, rusted lag bolts, and gaps between the ledger and the rim area of the house. A proper repair may involve temporarily supporting the deck, removing siding or trim, replacing damaged sections with pressure-treated lumber, installing metal Z-flashing, and fastening with approved structural screws such as LedgerLOK or Simpson Strong-Drive SDWS Timber screws. This is not a place for generic deck screws.
Joists, beams, and sistering techniques
When a joist has localized damage but is otherwise worth saving, I may sister a new pressure-treated joist alongside it, matching the height exactly and fastening it with structural screws or bolts in a staggered pattern. On heavily decayed members, full replacement is the better move. I use proper joist hangers like Simpson LUS210Z or the size that matches the framing, and I install the manufacturer-specified hanger nails, not roofing nails or whatever happens to be in the pouch. Beams with rot at post bearing points often need sections replaced and the load transferred carefully with temporary supports.
Posts, footings, and frost movement
In the Hudson Valley, frost heave is hard on old deck footings. I’ve seen decks in New City and Middletown where one corner lifted just enough over winter to throw the whole stair run out of level. When posts are buried in soil or set directly in concrete with no standoff base, they tend to rot where you can’t see it. A proper repair usually means lifting and bracing the structure, replacing the post with ground-contact pressure-treated lumber, and setting it on a code-appropriate metal post base anchored to a solid footing.
When to bring in a pro
Any repair that involves supporting the deck, replacing the ledger, rebuilding stairs, or altering beams and posts should be handled with a contractor who knows framing and local code expectations. I’m all for homeowners tackling maintenance and simple board swaps, but structural work has to be done right the first time. Once a deck starts moving, cracking, or pulling away, the price of waiting is almost always higher than the price of fixing it properly.
Take clear photos of the ledger, joist hangers, and post bases before repairs start. On structural jobs, those pictures help plan materials and document conditions for permits or inspections.
A common mistake is sistering a rotten joist without fixing the leak or drainage issue that caused the rot in the first place. The new lumber just starts the same cycle over again.
Common Mistakes to Avoid
The biggest mistake I see is homeowners trying to buy time with stain, paint, or wood filler when the real problem is structural. A fresh coat can make a deck look better for a season, but it won’t stop a railing post from moving or a ledger from separating. In fact, heavy paint often traps moisture and hides the exact spots that need repair.
Another expensive mistake is using the wrong fasteners. Treated lumber needs corrosion-resistant hardware, usually hot-dipped galvanized or stainless, depending on the application. I still come across repairs done with drywall screws, interior construction screws, and undersized nails. Those may hold for a little while, but they snap, rust, or loosen far sooner than proper structural fasteners.
Homeowners also tend to replace what they can see and ignore what they can’t. They swap a few surface boards, but leave rotted stair stringers, loose joist hangers, or vegetation packed around the posts. When I’m repairing a deck, I always trace the path of water. Where is it getting trapped? Where is runoff landing? Is mulch piled against the base? Is a downspout dumping next to the stairs? Moisture management is half the battle.
The last one is timing. A lot of people wait until late June, when every contractor is slammed and the damage has had all spring to spread. Deck repair is usually cheaper in the early part of the season or as soon as you notice movement, softness, or corrosion. Small repairs stay small only when somebody gets on them early.
Use hot-dipped galvanized or stainless hardware that is rated for contact with pressure-treated lumber, and match connectors and nails to the manufacturer’s specifications.
Pay for a targeted inspection before you buy materials. Spending a little upfront can prevent you from replacing deck boards when the real issue is underneath.
Cost Breakdown: What to Expect
Deck repair costs vary a lot because some jobs are finish carpentry and some are structural work in disguise. Around Rockland County and Orange County, a handyman or experienced carpenter typically runs about 85 to 135 dollars per hour in many Orange County areas and about 95 to 150 dollars per hour in much of Rockland, depending on scope, access, and whether two people are needed. A dedicated deck or carpentry crew may price by the job, but those hourly numbers are a realistic starting point.
For common repairs, here’s what I usually see. Replacing 10 to 20 damaged deck boards might run about 150 to 450 dollars in DIY materials if you already own tools, or about 450 to 1,200 dollars professionally depending on board type, hidden damage, and disposal. Rebuilding an 8-foot section of railing often lands around 120 to 350 dollars in materials for a DIY repair, or 400 to 900 dollars professionally. A basic stair repair can be 250 to 700 dollars DIY, while a full stair rebuild with new stringers, treads, risers, and hardware often falls in the 900 to 2,200 dollar range with labor.
Structural repairs are where the budget jumps. Replacing a few joists, reinforcing the frame, or correcting a failing post connection might cost 1,000 to 2,500 dollars. Ledger repair or replacement, footing work, and beam repairs can easily run 1,500 to 6,500 dollars or more, especially when the deck has to be temporarily supported and the house connection opened up. If permits, engineering, or inspections are required by the municipality, add that to the plan. In some towns, permit costs might be modest, while larger structural corrections can involve more paperwork and time.
DIY makes sense when you’re replacing a couple of straightforward boards, swapping surface screws, or cleaning and resealing the deck. It stops making sense when you’re dealing with rail post attachments, framing, stairs, load-bearing members, or anything attached to the house. I’ve seen homeowners spend 600 dollars on materials trying to fix a bounce in the deck surface, only to find out later the real problem was a compromised beam connection that still needed a pro.
The cheapest deck repair is preventive maintenance. Cleaning every year, staining every 2 to 3 years with a penetrating product, trimming back shrubs, and keeping water away from the posts can delay big repairs by a long shot. Spending a few hundred dollars now often beats spending several thousand after another winter gets into open cracks and weak connections.
Bundle repairs together. Replacing boards, tightening rails, and resealing the deck in one visit usually costs less than calling for three separate service appointments.
Keep gaps between boards free of leaves and debris so water can drain. That simple habit helps protect joists, fasteners, and board ends from premature rot.
📍 How This Applies to Homes in Rockland & Orange County
Decks in Rockland County and Orange County take a beating from the Hudson Valley climate. We get harsh winters, freeze-thaw cycles that work water into every little crack, and then spring moisture that sits around longer than people expect. By the time summer humidity rolls in, any weak spot in the wood has a perfect recipe for swelling, decay, and fastener corrosion. That’s why a deck that looked mostly fine in November can feel soft or loose by April.
A lot of homes in places like Nanuet, Spring Valley, Suffern, Nyack, and New City were built decades ago, and plenty of the pre-1970s homes I work on have had multiple deck repairs over the years. Some have old framing methods, inconsistent spacing, or hardware that wouldn’t pass today’s standards. It’s also common to find a newer surface installed over older structural members, which can fool homeowners into thinking the deck is in better shape than it really is.
Over in Middletown and Newburgh, I see similar issues, especially on decks with more sun exposure followed by heavy weather swings. South-facing decks dry out, crack, and lose stain faster, while shaded decks stay damp and grow mildew. Add spring pollen, wet leaves, and summer humidity, and you’ve got conditions that speed up rot around rail posts, stair bottoms, and the ledger area.
Around here, local deck repair isn’t just about making things look good for grilling season. It’s about building and repairing for the way Hudson Valley homes actually live through the year. That means paying attention to drainage, footing movement, snow exposure, and old-house details. A deck in Rockland or Orange County needs more than a quick cosmetic patch. It needs repairs that can handle another wet spring, another humid summer, and another winter cycle without opening right back up.
Frequently Asked Questions
Ready to Get Started?
Get Your Free Estimate Today
Serving Rockland County & Orange County, NY. Professional results, guaranteed.
Request a Free Estimate →