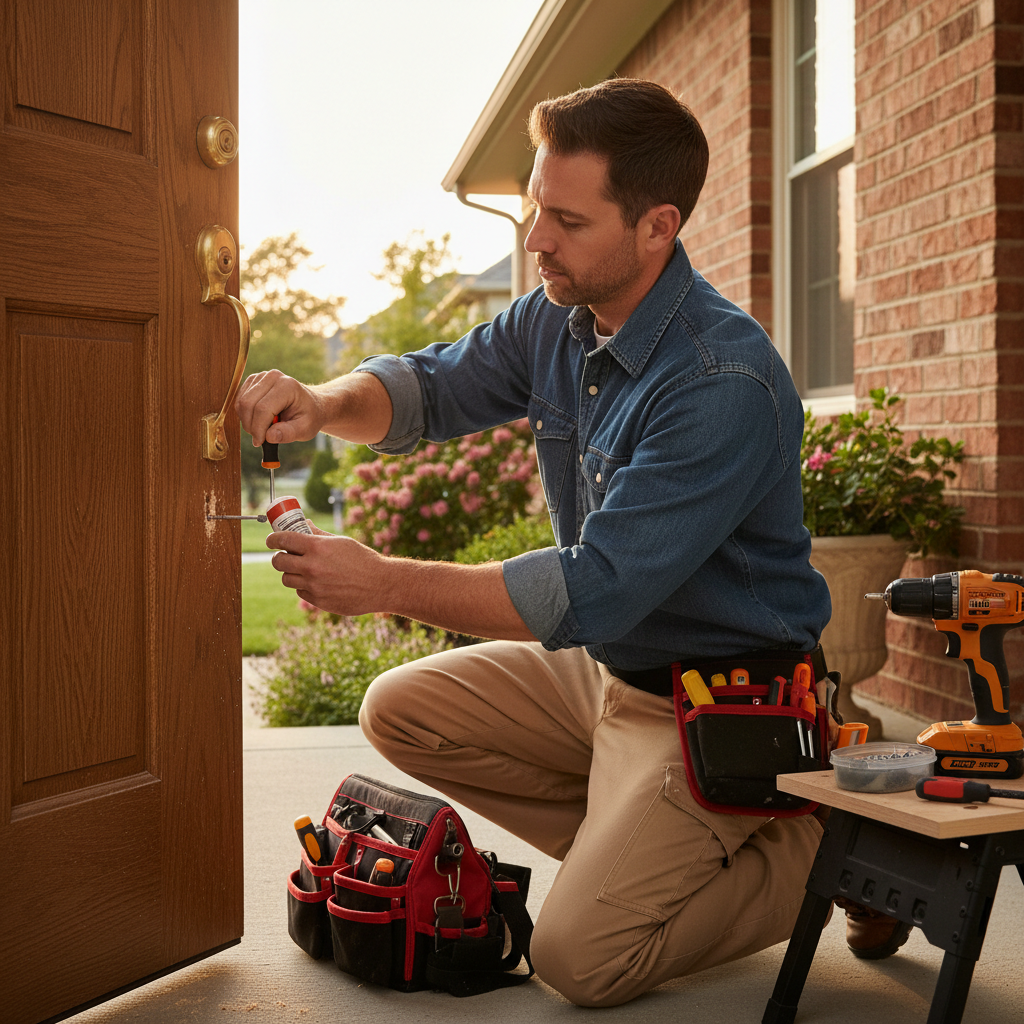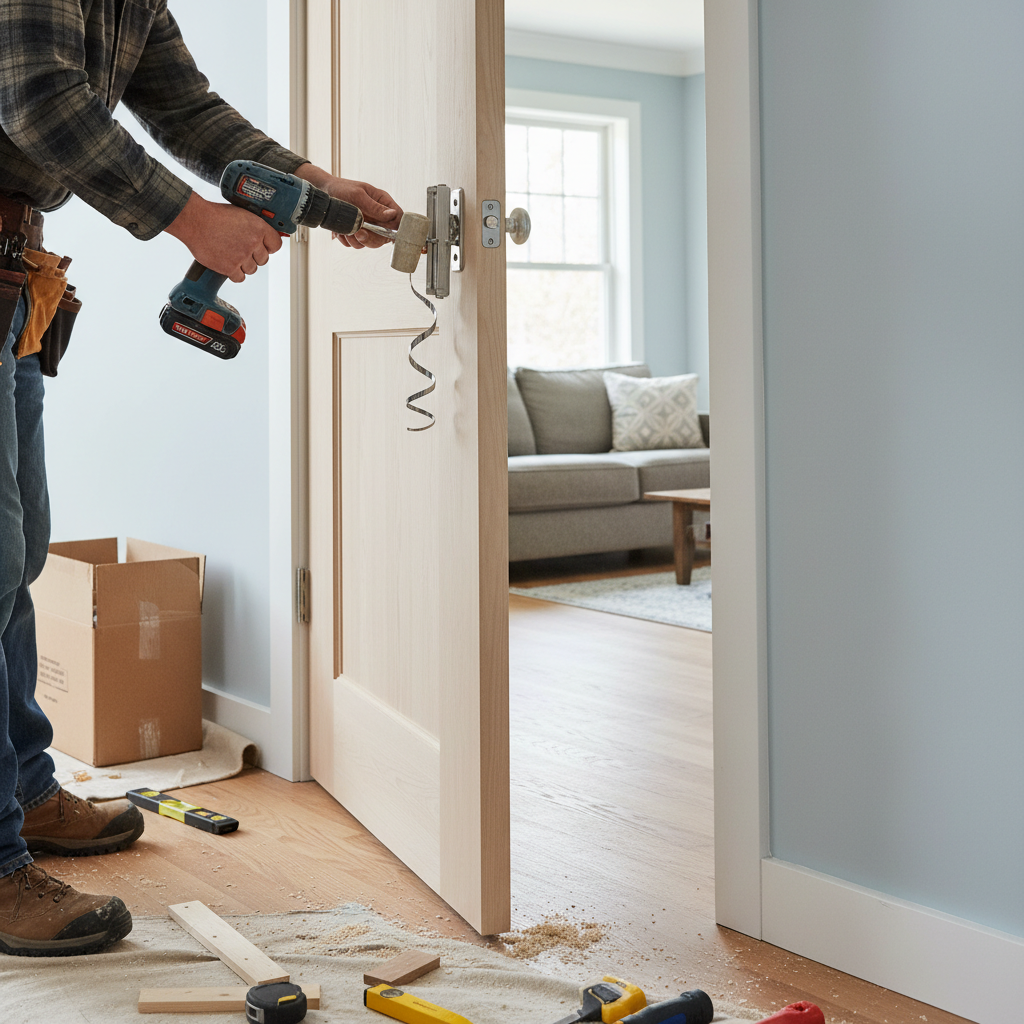
Door Installation Rockland County NY: How to Hang a Door Right the First Time
From bedroom slabs to drafty front entries, here's the way a local contractor hangs doors so they swing easy, latch clean, and hold up through Hudson Valley weather.
At 6:30 on a January morning in New City, when the driveway's got that crunchy frost on it and everybody's trying to get out the door at once, a sticking front door can turn into a full wrestling match. I've had homeowners call me after they shoulder-checked an exterior door three times just to get the kids to school, only to find out the latch wasn't the real issue at all. The jamb had shifted, the threshold was out of level, or the old hinge screws had finally let go.
After more than 20 years doing door installation in Rockland County NY and over the line in Orange County, I've learned that doors don't fail quietly around here. In a lot of older homes, especially pre-1970s houses, one simple door replacement turns into a framing tune-up because the opening has moved over the years. Nine times out of ten, when a homeowner tells me, 'I just need a new door,' I still bring a long level, a box of cedar shims, and extra 3-inch screws because I know the house is going to have a say in it.
A properly hung door should swing freely, hold an even reveal of about 1/8 inch, latch without slamming, and seal tightly against drafts and moisture. Whether you're swapping a hollow-core bedroom door or installing a fiberglass entry door before winter hits, the details matter. I'll walk you through how I measure, prep, shim, fasten, and seal interior and exterior doors so they work the way they should and stay that way.
Choosing the Right Door and Measuring the Opening
Most homeowners start with the door itself, but I start with the opening. For a straight interior replacement where the jamb is still square and solid, a slab door can save some money. In the real world, especially in older houses around Suffern, Nyack, and Newburgh, I usually recommend a prehung unit. You get a matched slab, jamb, and hinges, and that gives you a much better shot at a quiet swing and a clean latch without chasing problems from an old frame.
Measure the opening, not just the old door
Measure the rough opening width at the top, middle, and bottom, then use the smallest number. Measure height on the left, center, and right from the finished floor to the underside of the header. A standard 30-by-80-inch prehung door typically wants a rough opening around 32 by 82-1/2 inches. If you're ordering a slab only, measure the existing slab width, height, thickness, hinge size, hinge spacing, and backset before you buy. One missed hinge location can turn a quick job into an afternoon of patching.
Check plumb, level, and jamb depth
Set a 6-foot level on the hinge side of the opening and check the floor where the jamb legs or threshold will land. I also measure wall thickness so I know whether I need a 4-9/16-inch jamb for a standard 2x4 wall or a 6-9/16-inch jamb for a 2x6 wall. Don't forget handing either. Stand on the side where the door swings toward you; hinges on the left means left-hand, hinges on the right means right-hand. It sounds basic, but I've seen plenty of wrong-hand doors show up on perfectly good jobs.
Exterior doors need one more level of prep: water management. If the old sill has rot, or the subfloor feels soft under your foot, stop and repair that before the new unit ever comes out of the packaging. I like a sill pan or a peel-and-stick membrane like Vycor or ZIP System flashing tape under the door, plus OSI Quad Max sealant at the sill corners and along the exterior trim line. That little bit of extra prep matters in a Hudson Valley spring when wind-driven rain gets creative.
Then pick the right door for the job. Hollow-core interior doors are fine for closets and utility spaces, but solid-core doors feel better, sound better, and hold hardware more reliably. For exterior doors, steel is the budget-friendly choice, fiberglass handles moisture and temperature swings well, and a quality unit from Therma-Tru or Masonite paired with a Schlage or Kwikset lockset is a dependable setup. I also prefer heavier-duty 4-inch hinges on exterior doors, and when security matters, non-removable hinge pins are worth every penny.
Measure the opening in three places for width and height, then order from the smallest numbers. That's the fastest way to avoid getting a door that looks right on paper but won't fit the framing.
Homeowners often measure only the old slab and forget the jamb depth, floor height, or hinge placement. That's how simple door swaps turn into return trips to the store.
Step-by-Step: Hanging an Interior or Exterior Door
Once the new door is on site, I dry-fit everything before I drive the first screw. On interior jobs, I remove casing carefully with a flat bar and utility knife so I don't tear up the wall more than necessary. On exterior jobs, I cut all old caulk lines, remove brickmould or trim, and inspect the framing, header, and subfloor. A new door installed into a bad opening is still a bad door, just with fresh paint on it.
Hanging an interior prehung door
Set the unit into the opening and shim the hinge side first. I start with cedar or composite shims behind the top hinge, get that side dead plumb with a 6-foot level, and fasten it loosely. Then I shim behind the middle and bottom hinges and check the reveal across the top of the slab. You're looking for a consistent gap of about 1/8 inch. Once that looks good, I replace one screw in each hinge with a 3-inch Simpson Strong-Drive or GRK screw so the jamb is anchored into the framing, not just the jamb stock.
Hanging an exterior door
For an exterior unit, run a bead of sealant at the sill pan and side contact points, then tip the prehung assembly into place from the outside. Center it in the opening, plumb the hinge side first, and shim both jambs at every hinge and strike location. I keep an eye on two things at once: the reveal around the slab and the way the weatherstripping compresses when the door closes. A door can look square and still leak air if the slab is racked just a little.
Once the hinges are set, close the door slowly and watch what it tells you. If the top reveal gets tight at the latch side, the hinge side isn't truly plumb yet. If the latch hits low or the door wants to swing open by itself, something is still out of level. I install the strike plate only after the slab swings cleanly and rests where I leave it. On exterior doors, I also drive a long screw behind the deadbolt strike to stiffen the latch side and help resist sag over time.
The last part is sealing and trim. On interior doors, install casing only after the door operates perfectly, then fill nail holes and caulk light gaps at the wall. On exterior doors, use low-expansion foam like Great Stuff Window & Door around the jamb, but don't overpack it or you'll bow the frame. Finish with exterior caulk, adjust the threshold sweep, and do a final seal test. My old-school check is a dollar bill at the weatherstrip. It should drag a bit when you pull it out, but it shouldn't feel like it's trapped in a vise.
Always shim directly behind hinge locations and the strike plate area. That's where the weight and stress live, and that's where doors start sagging when the support isn't there.
A lot of DIY installs fail because the installer sets the latch side first. Get the hinge side perfectly plumb before you chase reveals anywhere else.
Common Mistakes to Avoid
The biggest mistake I see is ordering the wrong kind of replacement. Homeowners measure the old slab, buy a new one the same size, and assume everything else will line up. Then they find the old jamb is twisted, the hinge mortises don't match, or the floor has changed because of new tile or hardwood. That's why a lot of so-called simple swaps end up needing a prehung unit anyway.
Ignoring the floor and the house movement
In older homes, especially pre-1970s places, the opening may not be square and the floor may not be level. I've seen bedroom doors in Spring Valley and Middletown with a perfect top reveal and a giant gap at one bottom corner because somebody never checked the floor. Interior doors usually need the right undercut for air flow and floor clearance, and that changes depending on whether you're installing over carpet, hardwood, vinyl plank, or tile.
Using the wrong fasteners and over-tightening the frame
Short hinge screws are another classic problem. The 3/4-inch screws that come in cheap hardware packs might hold for a while, but they won't keep a heavy door from sagging. I use 3-inch screws at key hinge points and at the deadbolt strike on exterior doors. I also see jambs bowed because somebody cranked down screws before checking the reveal. Tighten a jamb too hard without proper shimming and the door will bind even though the level says you're close.
Exterior installs bring their own headaches. Skipping sill flashing, using the wrong foam, or forgetting to caulk end joints on trim is how water gets in and starts rotting things from the inside out. I also tell homeowners not to rush paint on a wood door. Seal all six sides, especially the top and bottom edges, or moisture will find the unprotected wood and you'll be back to sticking and swelling before the season changes.
For older openings, I strongly recommend buying the door first, then dry-fitting it before you commit to casing, hardware, or paint. That one step catches a lot of trouble early.
If your existing interior jamb is truly square and solid, a slab replacement can save a few hundred dollars over a full prehung install. Just be honest about the condition of the frame before you order.
Cost Breakdown: What to Expect
Door costs vary a lot depending on whether you're installing a hollow-core interior door, a solid-core unit, or a weather-rated exterior entry system. For basic interior materials, a molded hollow-core slab may run about $60 to $150, while a prehung hollow-core unit is often $120 to $250. Solid-core interior prehung doors usually land around $250 to $600 depending on style and finish. For exterior doors, a basic insulated steel prehung unit may cost $350 to $900, while a good fiberglass unit often starts around $700 and can easily run $1,500 to $2,500 before hardware.
Professional labor in Rockland and Orange County
For straightforward interior door installation, labor in Rockland County typically falls around $95 to $140 per hour for a skilled handyman or finish carpenter, with Orange County often a little lower at roughly $85 to $130 per hour. In real job pricing, that usually works out to about $250 to $500 in labor for a simple interior prehung door replacement and $150 to $350 for a slab swap when the jamb is reusable. Add more if casing, painting, hardware boring, or jamb repair is part of the job.
Exterior doors cost more because the prep, sealing, and adjustment matter more. A basic exterior door replacement in Rockland or Orange County usually runs about $600 to $1,400 in labor, and that can go higher if there's rot repair, reframing, custom trim, sidelights, transoms, or storm door coordination. New locksets, deadbolts, smart hardware, and painted or stained finishes add to the total too. Disposal of the old door and debris may add another $35 to $100 depending on the job.
DIY costs and where people get surprised
A homeowner doing it themselves can save on labor, but the hidden costs add up fast. Figure on a 6-foot level, pry bars, shims, drill bits, hole saws, foam, caulk, flashing tape, screws, and maybe a planer or oscillating tool if the opening fights back. If you're starting from scratch, tools and supplies alone can easily add $200 to $600 beyond the cost of the door. And if you mis-order a door or damage the jamb trying to force it, the savings disappear in a hurry.
Where hiring a pro pays off is on exterior doors and older homes. When I replace an entry door in Nyack, Nanuet, or Newburgh, I'm not just hanging a slab. I'm managing water, air sealing, security, threshold height, and often years of settling in the framing. On those jobs, paying for experience up front is usually cheaper than paying twice after a draft, leak, or sag shows up six months later.
Reuse existing interior casing if it's in good shape and you're careful during removal. That can trim material and finish costs, especially on multi-door projects.
Tighten hinge screws, keep weatherstripping clean, and touch up exterior caulk before winter. A ten-minute maintenance check can prevent premature sagging, drafts, and water damage.
📍 How This Applies to Homes in Rockland & Orange County
Door installation in Rockland County and Orange County isn't just a carpentry job. It's a weather job. The Hudson Valley climate puts doors through real stress: harsh winters, freeze-thaw cycles, spring moisture, and summer humidity all work on the slab, jamb, and surrounding framing. That's why a door that felt fine in October can start rubbing, leaking air, or refusing to latch by February.
The older housing stock around places like Nanuet, Spring Valley, Suffern, Nyack, and New City adds another layer to it. In a lot of pre-1970s homes, openings aren't perfectly square anymore, plaster walls aren't forgiving, and previous repairs may be hiding behind the casing. I can't count how many times I've pulled an old jamb and found shim stacks from three different eras, or a threshold sitting on patched subfloor that should've been replaced years ago.
Over in Orange County, I see similar issues in Middletown and Newburgh, especially on homes that have had multiple flooring changes or additions over the years. Summer humidity can swell wood doors just enough to make them drag, and spring moisture finds every weak point around an exterior sill. That's why I lean toward fiberglass for many front entries here, use low-expansion foam carefully, and never skip flashing details at the sill and side jambs.
For Hudson Valley homeowners, the takeaway is simple: don't judge a door job by how fast the door goes in. Judge it by how it performs after one winter, one wet spring, and one sticky August. A properly installed door in this area needs plumb framing, solid fastening, smart sealing, and a little respect for what our climate does to houses year after year.
Frequently Asked Questions
Ready to Get Started?
Get Your Free Estimate Today
Serving Rockland County & Orange County, NY. Professional results, guaranteed.
Request a Free Estimate →