Last February, I walked into a split-level in New City where the homeowner swore her new floor had "gone bad" in under a year. The planks were cupping near the slider, two rows had separated by almost 1/8 inch, and every step across the dining area sounded hollow. The problem wasn't the color, the brand, or bad luck. It was a flooring installation issue from day one: no moisture check, no proper acclimation, and a subfloor that was never flattened before the first plank went down.
Around Rockland County and Orange County, I see this more than people realize. In our part of the Hudson Valley, spring moisture, muggy summers, and winter heat running full blast can make a floor expand, shrink, or shift fast. Industry groups regularly estimate that a huge percentage of hard-surface floor failures trace back to subfloor or moisture problems, not the flooring product itself. That's why two homes on the same street in Nanuet can use the same material and get completely different results.
Good flooring does two jobs at once: it has to look right for your home and perform under real life. Kids running in from the yard, wet boots by the front door, dog nails on the hallway, and older uneven framing in pre-1970s houses all matter. When homeowners ask me about flooring installation Rockland County projects, I tell them the same thing every time: the best floor isn't the most expensive one on the shelf, it's the one that's right for the room, installed the right way, over a properly prepared base.
Choosing the Right Floor for Each Room
Picking flooring starts with the room, not the sample board. A lot of homeowners fall in love with a 7-inch-wide wire-brushed oak plank under bright showroom lights, then try to force that same product into a basement, mudroom, and upstairs bath. That's where problems start. Kitchens, foyers, living rooms, bedrooms, basements, and bathrooms all take abuse differently, so I always match the material to the traffic, moisture level, and structure underneath.
Luxury Vinyl Plank, Hardwood, Laminate, and Tile
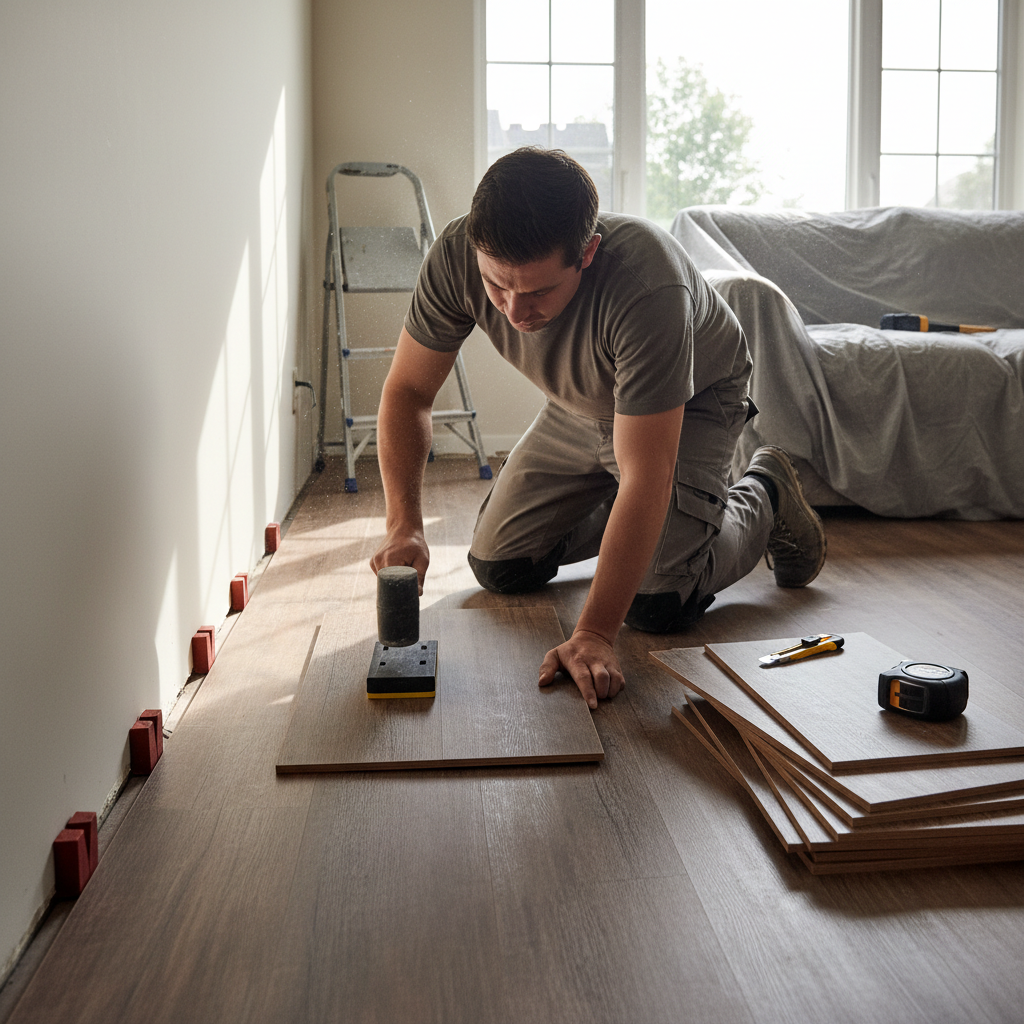
For busy first floors in homes with kids, dogs, and direct entry from the driveway, luxury vinyl plank is hard to beat. Products like COREtec, Lifeproof, and Shaw Floorte have wear layers typically ranging from 12 mil to 20 mil, and for most family homes I steer people toward at least a 20 mil wear layer. In kitchens and hallways, 5 mm to 8 mm total plank thickness with an attached pad or separate underlayment gives you a better feel underfoot and helps hide minor subfloor imperfections. Just remember, "waterproof" doesn't mean the floor is immune to leaks underneath.
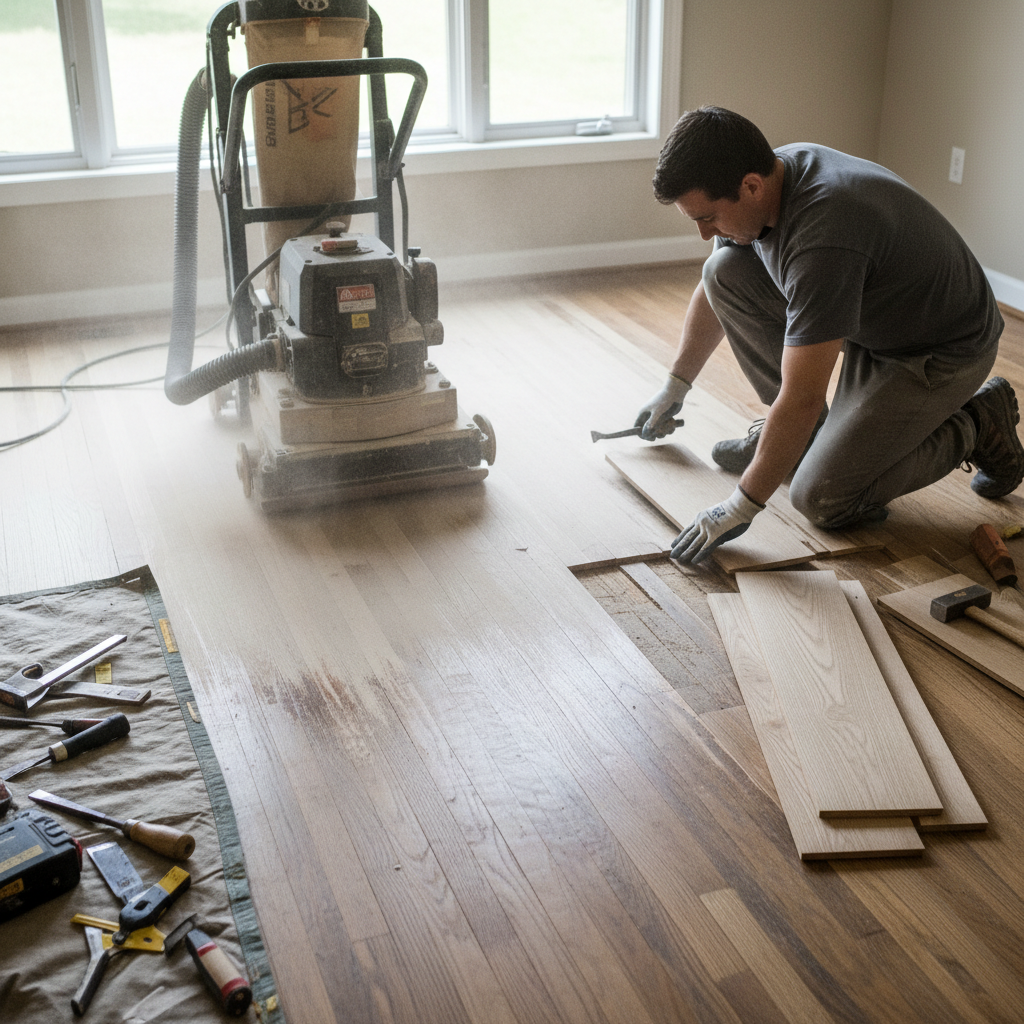
For main living spaces where homeowners want real warmth and long-term value, site-finished or prefinished hardwood still has its place. A 3/4-inch solid red oak floor is a classic in older colonials and ranches, but it belongs on above-grade levels with stable humidity, not slab basements. Engineered hardwood is often the smarter compromise around here. A good 1/2-inch engineered plank with a 3 mm to 4 mm wear layer handles seasonal movement better than solid wood and works well over plywood subfloors or even concrete with the right adhesive or underlayment system.
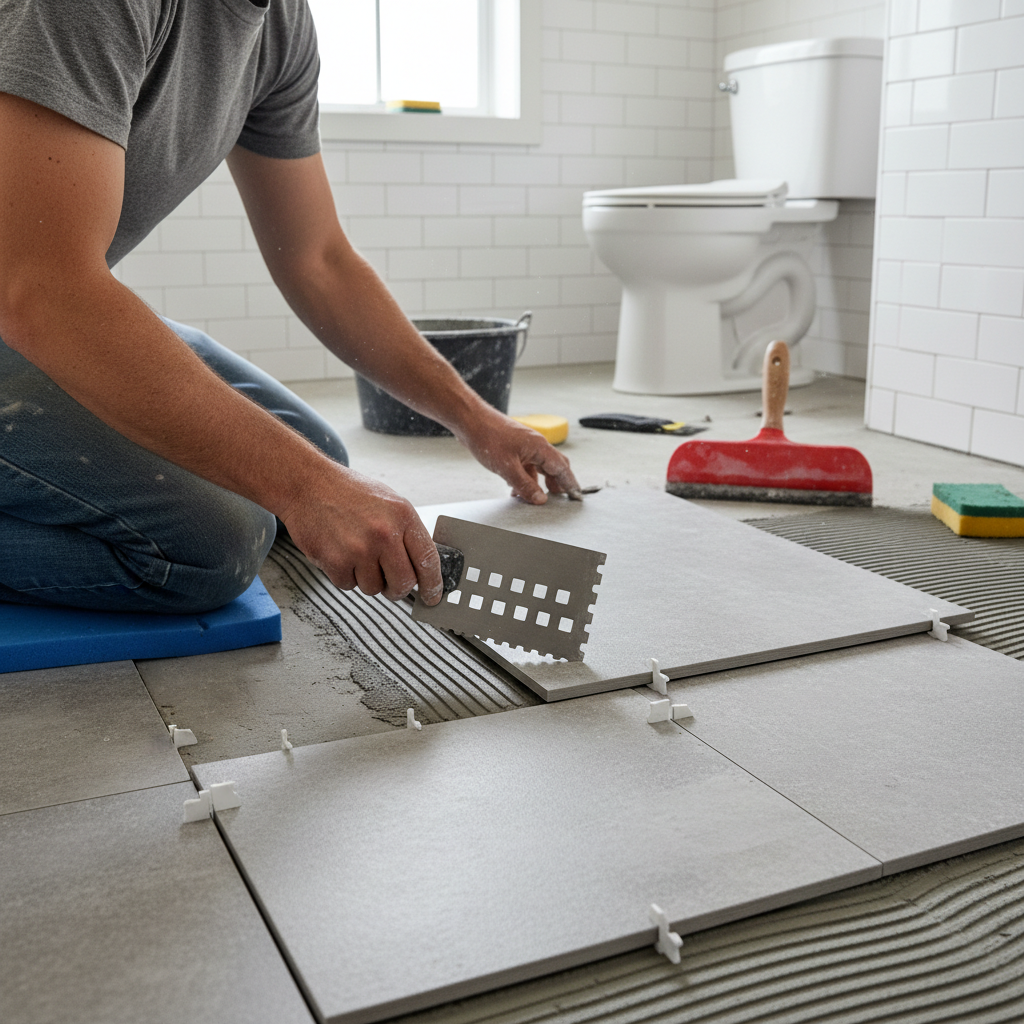
Bathrooms, laundry rooms, and basement areas are where homeowners need to be honest about moisture. Porcelain tile is still the toughest finish for wet zones, especially 12x24 tiles installed with a polymer-modified thinset like MAPEI Ultraflex or Schluter ALL-SET over a proper underlayment. Laminate has improved a lot, and some newer lines resist water better than the old stuff, but I still use it carefully in moisture-prone rooms. When someone in Suffern or Middletown asks for one floor through the whole house, I usually recommend doing the dry areas in engineered hardwood or quality LVP and keeping true wet rooms in tile.
The other part homeowners miss is transitions and floor height. A 3/8-inch click-lock LVP installed over an existing underlayment will sit very differently from a 3/4-inch hardwood floor nailed to plywood. Before ordering anything, I measure doorway clearances, appliance openings, and transitions to adjoining rooms. I've seen refrigerators trapped by a new kitchen floor more times than I care to admit. Those little measurements, sometimes just 1/4 inch here or there, are what separate a smooth job from a headache.
Bring home full-size samples and leave them in the actual room for two days. Morning light in Nyack or a shaded family room in Newburgh can make the same floor color look completely different than it did in the store.
Homeowners often choose flooring by color alone and ignore wear layer, plank thickness, or moisture exposure. That's how beautiful floors end up failing in kitchens, basements, and entryways.
Subfloor Preparation and Installation Methods
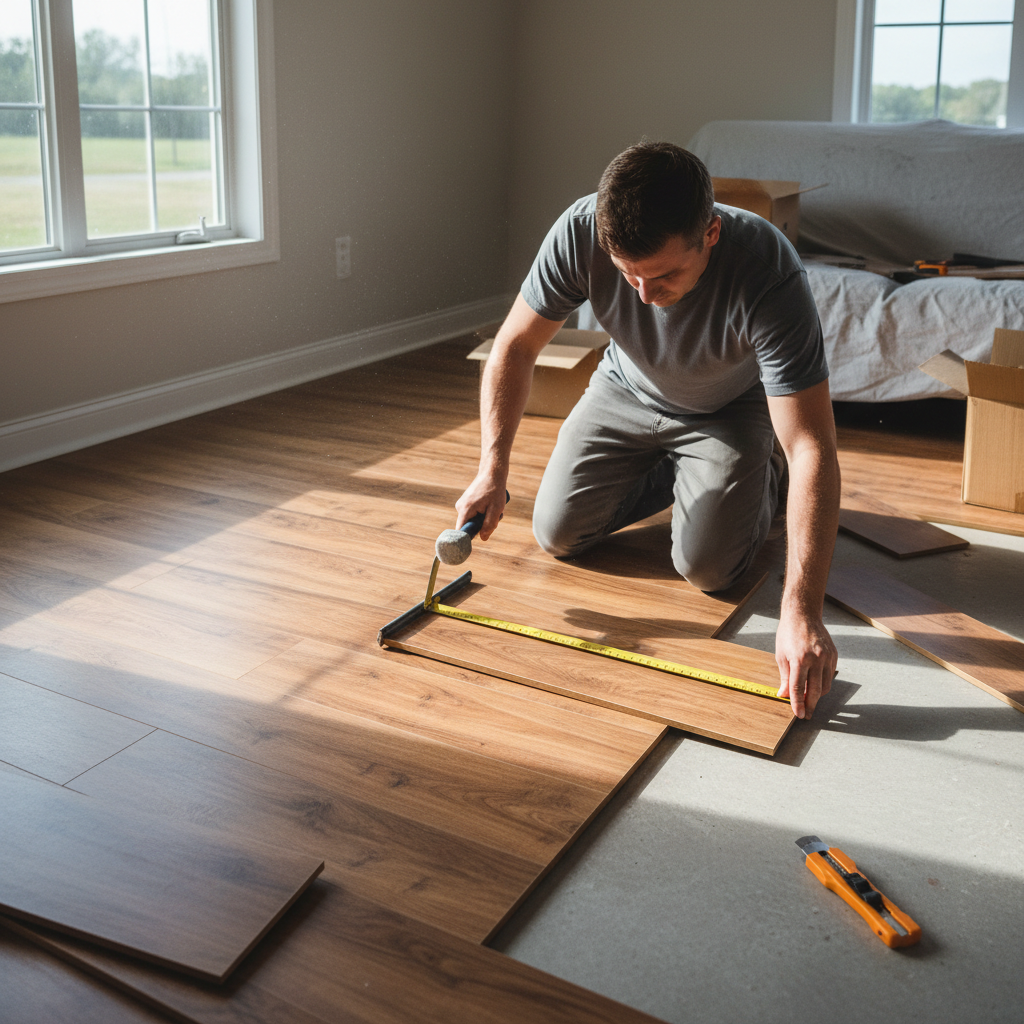
Most flooring problems don't start on top. They start underneath. Before I install a single board or tile, I check the subfloor for flatness, moisture, squeaks, and structural movement. For plank flooring, most manufacturers want the subfloor within 3/16 inch over 10 feet or 1/8 inch over 6 feet. Tile is even less forgiving. A floor can look pretty level to the eye and still be too wavy for a clean installation.
Checking Moisture and Flattening the Surface
On plywood subfloors, I use a moisture meter and compare the readings between the flooring and the substrate before installation. On concrete slabs, especially in basements or slab-on-grade rooms, I like doing calcium chloride or relative humidity testing when the conditions call for it. If the slab is holding too much moisture, you may need a moisture mitigation primer or a full vapor-control system before glue-down flooring goes in. Skipping that step is one of the fastest ways to end up with curling planks or adhesive failure.
Flattening matters just as much as drying. High spots get ground down. Low spots get filled with a patch or self-leveling compound like Henry 555 or MAPEI Self-Leveler Plus, depending on the floor system. Squeaky plywood gets re-fastened with subfloor screws, not just a couple finish nails. Any damaged underlayment or particleboard in wet areas gets removed and replaced. In older homes, especially pre-1970s houses in Spring Valley or Newburgh, it's common to find patched subfloors, out-of-square rooms, and joists that have settled over time. That's normal, but it has to be dealt with before the finish floor goes in.
Matching the Installation Method to the Material
Nail-down hardwood, floating click-lock floors, glue-down vinyl, and tile each need a different approach. A 2-inch solid oak strip floor might be nailed with 2-inch cleats or staples over 3/4-inch plywood. A floating LVP floor needs expansion gaps, usually around 1/4 inch at walls and fixed vertical surfaces, plus a clean, flat base so the locking edges don't fail. Glue-down engineered wood requires the right trowel notch, open time, and adhesive spread rate. Tile needs the correct underlayment, such as cement board or an uncoupling membrane like Schluter-DITRA, along with proper mortar coverage.
Acclimation is the part nobody sees but everybody pays for when it's skipped. Wood and many composite floors need time in the house before installation so they adjust to indoor temperature and humidity. Depending on the product, that can be 48 hours or several days. I also tell homeowners to get the HVAC running normally before material arrives. You want the house living the way it will live after the job is done, not wide open with no climate control and stacks of flooring sitting in a damp garage.
Before installation day, ask your contractor what flatness standard the manufacturer requires and how they plan to measure it. A 10-foot straightedge on the subfloor tells the real story fast.
A lot of people spend thousands on premium flooring and then try to save a few hundred by skipping subfloor repairs. That's backwards. The subfloor is what protects your investment.
Common Mistakes to Avoid
The biggest mistake I see is treating all floors like they're interchangeable. Homeowners hear "waterproof" and assume they can ignore a damp basement wall, a leaky dishwasher line, or a slab with no vapor barrier. The floor may survive a spill on top, but trapped moisture underneath is a different story. Around Rockland and Orange County, especially after a wet spring, that hidden moisture causes more callbacks than the flooring brand ever does.
Another common issue is bad layout planning. Starting a plank floor from the wrong wall can leave you with a 1-inch sliver row at the far side of the room or ugly transitions at doorways. In tile work, poor layout can put cut pieces right at the entry where everyone sees them first. I snap control lines, check for square, dry-lay key areas, and plan around focal points like islands, fireplaces, and hall sightlines. That extra hour upfront saves the whole room.
Homeowners also underestimate trim, doors, and appliances. New flooring often means undercutting jambs, trimming casings, resetting baseboard or shoe molding, and checking clearances under dishwashers, ranges, and entry doors. In older homes, one threshold can throw off three rooms if you don't think it through. I've had people call me after installing their own floor because the front door wouldn't clear in winter once the weatherstripping tightened up.
Finally, a lot of DIY problems come from mixing products and methods that don't belong together. Wrong underlayment, the wrong adhesive, no movement gap, no transition molding in long runs, or putting floating floor cabinets on top of the floor instead of installing around them. Flooring manufacturers write installation specs for a reason. Follow them, or the warranty usually isn't worth the paper it's printed on.
Ask for a moisture test, flatness check, and layout plan before work starts. A serious contractor should be able to explain all three in plain language.
Keep your existing baseboards if they're in good shape. Carefully removing and reinstalling them often looks better than adding thick quarter-round everywhere, and it can save on finish carpentry costs later.
Cost Breakdown: What to Expect
Flooring costs in Rockland County and Orange County depend on three things more than anything else: the material itself, the condition of the subfloor, and how many cuts, transitions, stairs, and furniture moves the job involves. For straightforward luxury vinyl plank installation in an open room, homeowners usually spend about $7 to $13 per square foot installed, with material often running $2.50 to $6 per square foot and labor commonly landing around $3.50 to $7 per square foot. Higher-end products, custom transitions, and extensive prep can push that higher.
Engineered hardwood generally lands in the $10 to $18 per square foot installed range, while solid hardwood installation can run roughly $12 to $20 or more per square foot depending on species, board width, fastening method, and finishing. Tile is the biggest swing category. A basic porcelain floor may start around $12 per square foot installed, but detailed layouts, uncoupling membrane, floor flattening, or larger-format tile can push the number to $20 per square foot or beyond. In Rockland County, labor tends to run a little higher than in parts of Orange County, especially for detailed finish work or smaller jobs where setup time is a bigger percentage of the total.
DIY costs are lower on paper, but homeowners need to price the full job honestly. A do-it-yourself LVP project might cost $3 to $7 per square foot for material plus tools, spacers, pull bar, tapping block, jigsaw or miter saw blades, underlayment, patch, and trim. Tile DIY can get expensive fast once you add a saw, trowels, leveling clips, buckets, membrane, and wasted material from bad cuts. Hardwood is the least forgiving for DIY in my opinion. One mistake in nailing, spacing, or moisture control can turn a "money saver" into a full tear-out.
Subfloor prep is where budgets get surprised. Simple patching may add a few hundred dollars. Full floor flattening, damaged plywood replacement, moisture mitigation on concrete, or squeak repair can add $1 to $4 or more per square foot depending on the issue. Furniture moving, old floor removal, and disposal are also often separate line items. When I price a job, I explain allowances clearly because homeowners deserve to know the difference between installing a floor and making the house ready to receive it.
As a rough local guide, small professional flooring jobs in Rockland and Orange County often carry labor rates equivalent to about $65 to $110 per hour depending on the crew, the skill level required, and the complexity of the work. That's not just "putting planks down." You're paying for layout, prep, moisture management, finish carpentry, cleanup, and the experience to avoid expensive mistakes.
Choose a flooring product that fits your subfloor condition. A slightly thicker click-lock LVP can sometimes reduce prep costs compared with a rigid material that demands a nearly perfect surface.
Use felt pads on furniture, keep entry mats at exterior doors, and wipe up standing water fast. Preventing scratches and moisture damage is cheaper than replacing a section of floor later.
📍 How This Applies to Homes in Rockland & Orange County
Flooring in the Hudson Valley has to deal with more movement than homeowners expect. Between harsh winters, freeze-thaw cycles, spring moisture, and summer humidity, materials expand and contract all year long. That's especially true in older pre-1970s homes where crawlspaces, partial basements, or aging subfloors aren't always as stable as they look. In towns like Nanuet, Spring Valley, and New City, I've opened up floors that looked fine on top and found decades of patchwork underneath.
In river towns like Nyack, and in lower-lying areas that hold moisture a bit longer, I pay extra attention to basement slabs and first-floor humidity levels. Over in Suffern, where a lot of homes have seen additions, remodels, and room conversions over the years, it's common to run into mixed subfloor heights from one area to the next. That matters when you're trying to create a seamless floor through a kitchen, hallway, and family room. Good planning on transitions and floor buildup saves a lot of frustration there.
Orange County homes bring their own mix of challenges. In Middletown and Newburgh, I've worked on everything from older colonials with uneven pine subfloors to newer developments with concrete slabs that still needed moisture testing before flooring could go down. Spring dampness can linger longer than people think, and summer humidity can swell wood products fast if the house isn't climate-controlled. That's why acclimation and moisture readings aren't optional around here; they're part of doing the job right.
For local homeowners, the smartest flooring choice is usually the one that respects the house and the climate. Engineered hardwood works well in many main-level living spaces, quality LVP is a solid choice for active households and lower levels, and tile still shines in true wet areas. Flooring installation Rockland County projects and Orange County projects both reward the same approach: match the material to the room, prep the subfloor properly, and don't pretend Hudson Valley weather isn't part of the equation.
Frequently Asked Questions
Ready to Get Started?
Get Your Free Estimate Today
Serving Rockland County & Orange County, NY. Professional results, guaranteed.
Request a Free Estimate →